Make your dolls this seasonal treat, just in time for Thanksgiving!
It’s that time of year again when people (and dolls) love to bake lots of wonderful things to eat! When we think of this season, we think of pumpkin pie. Join us as we show you how to make a pumpkin pie for your dolls to bake and serve to their friends!
*Parental guidance is recommended if you are not an adult.
Supplies: • Oven bake clay in a pie crust color and a pumpkin color • Tools to help shape clay (we have clay tools but lots of different household items will work) • A toothbrush (should only be used for crafts) • Scissors • A mini cupcake wrapper, preferably silver metallic (make sure it’s the mini size and not regular size!) • Satin finish clear acrylic sealer • A small craft brush • Chalk pastels (optional)
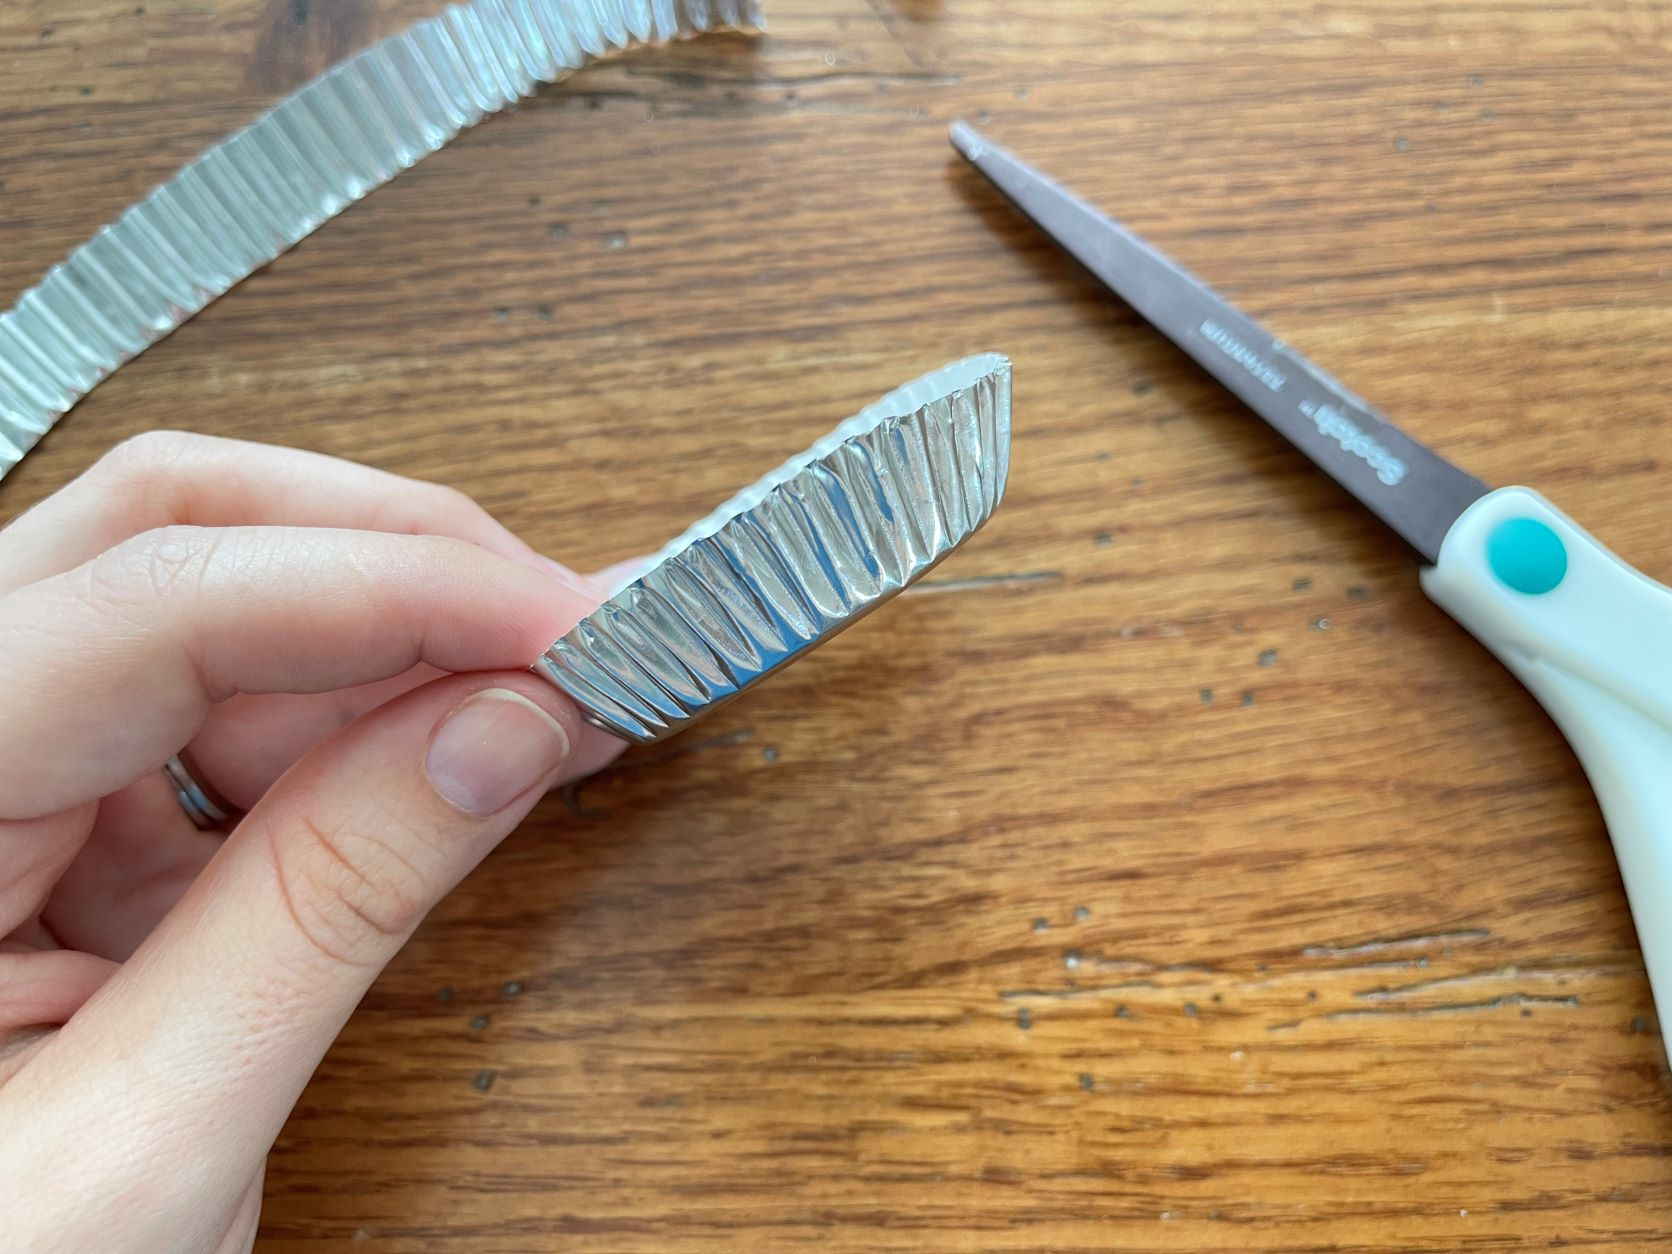
Step 1: Use your scissors to trim the sides of the cupcake wrapper to about half an inch (13mm) tall.
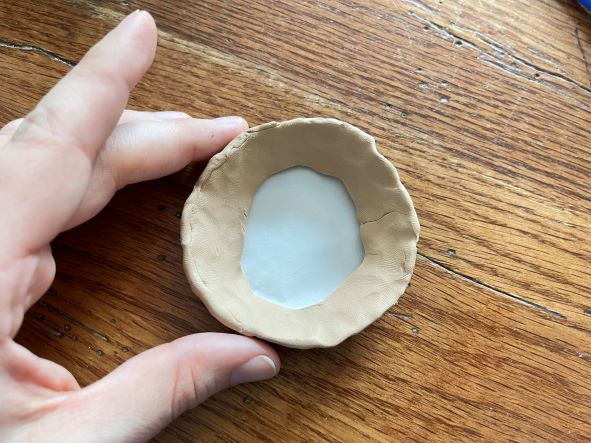
Step 2: Using the crust colored oven-bake clay, pat or roll out a long strip that is a little wider than half an inch (13mm). Take this strip and wrap it around the inside of the cupcake wrapper, making the outer edge of the crust. The cupcake wrapper is flimsy and won’t provide a solid structure, so use the clay to make the shape you want, and curl/stretch some of it over the edges of the cupcake wrapper.
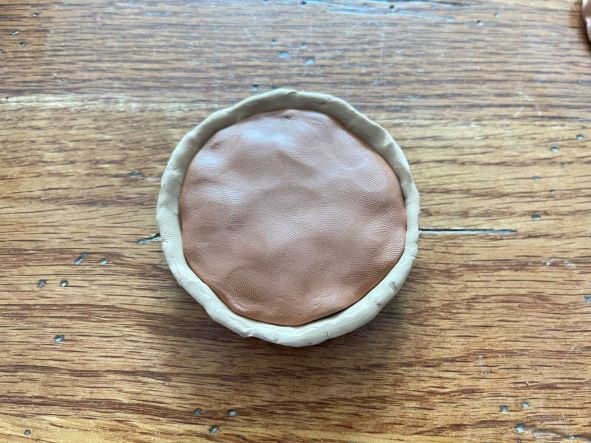
Step 3: Fill the rest of your pie with the pumpkin colored clay. Push in the crust edges to meet the pumpkin center, so that the clay holds itself together. Pat the top smooth.
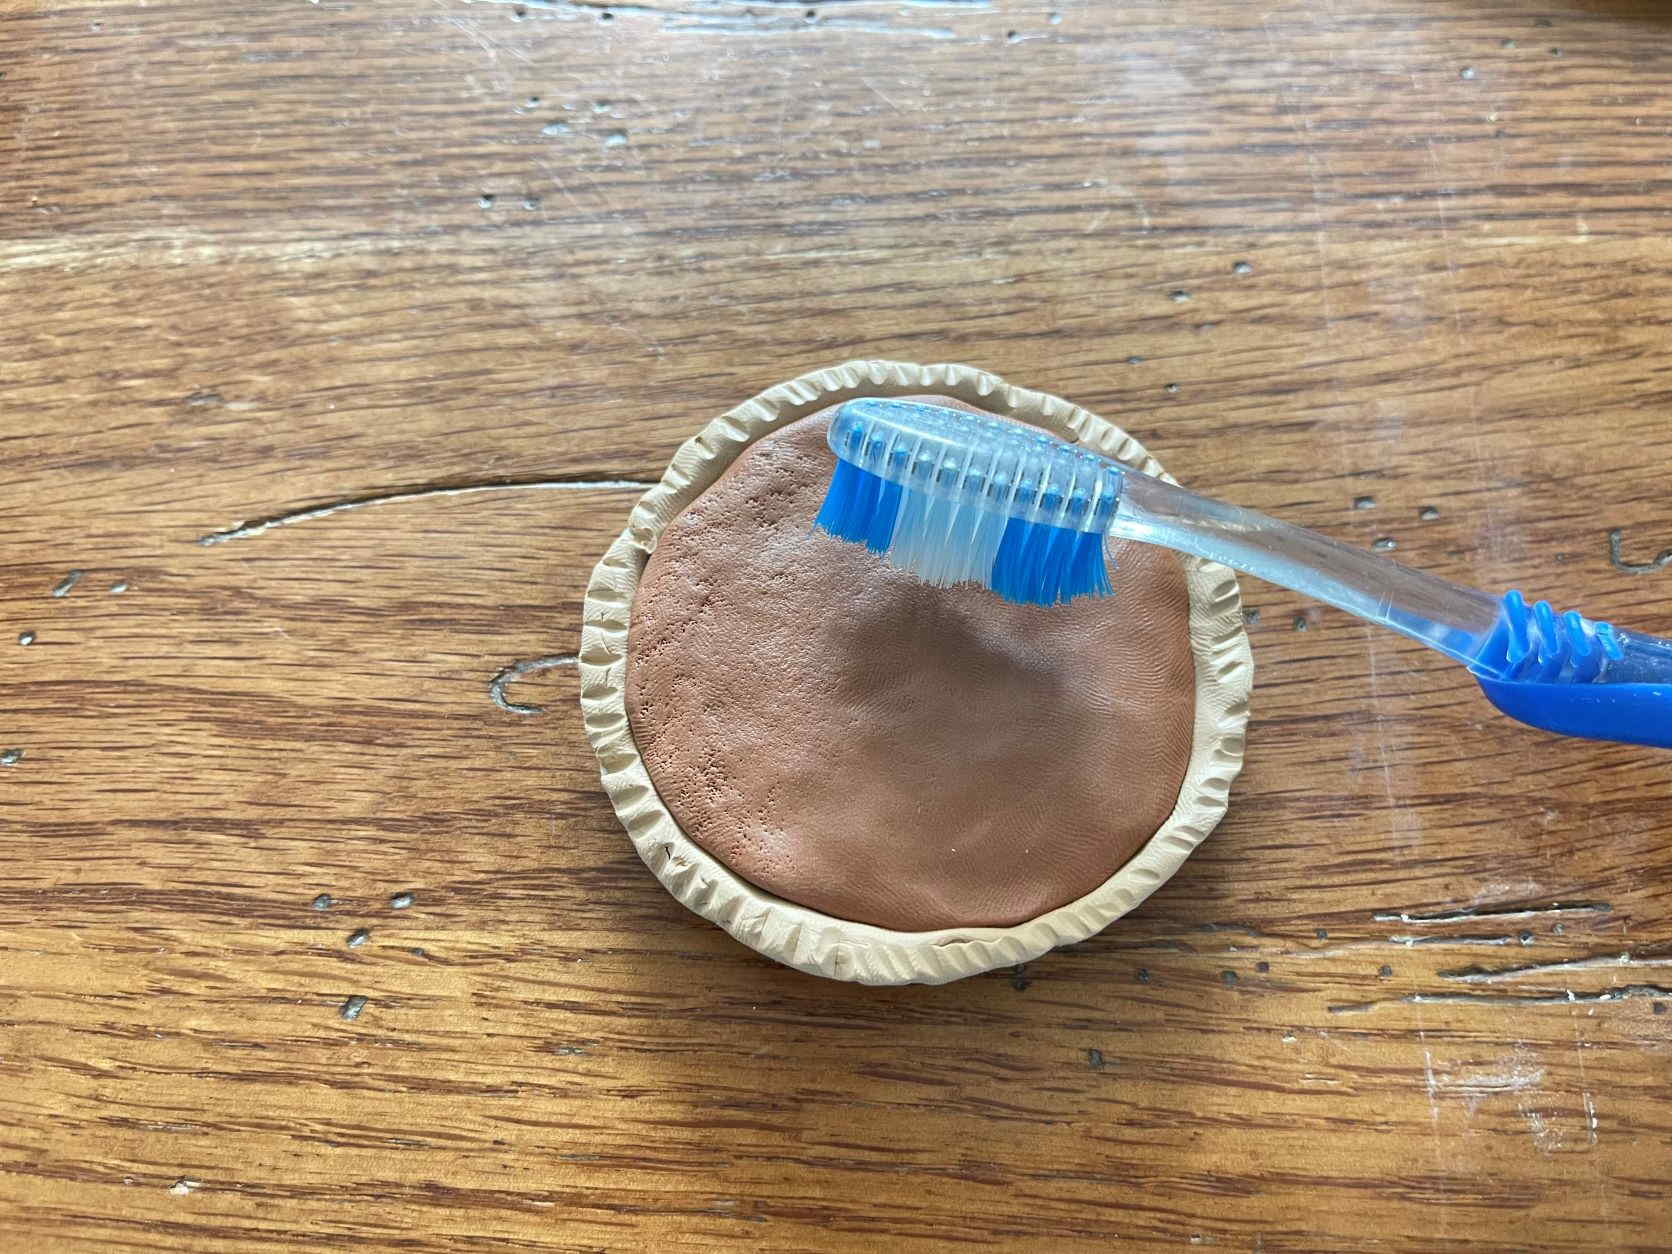
Step 4: Use a tool to put repeating marks in the pie crust edges. This could be any shape you want, sharp, smooth, zig-zag, just as long as it repeats around the crust it will look good. Then use the toothbrush to tap the pumpkin colored clay all around, so it has that baked pie texture.
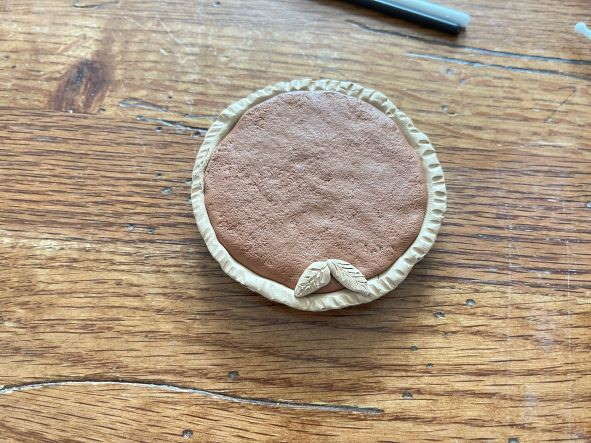
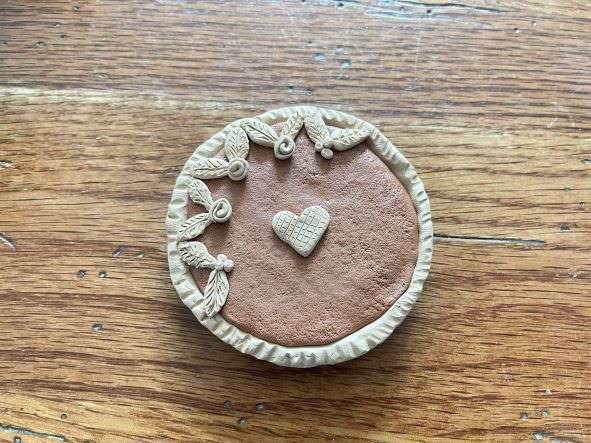
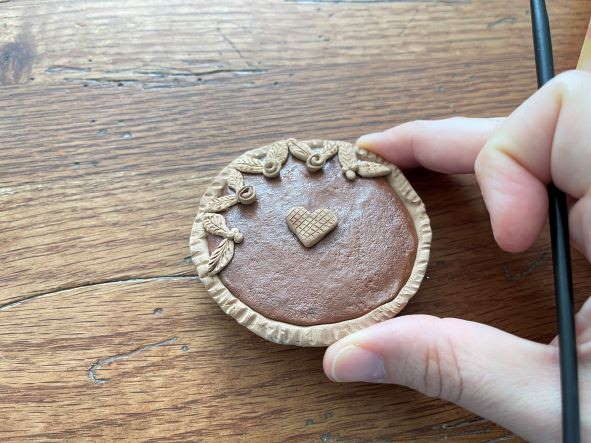
Step 5: This step is optional, but if you want to give your pie a little something extra, make tiny leaf shapes with the crust colored clay and draw in veins on the leaves with a household tool. We used a sewing straight pin. Continue adding leaves or whatever you like. We chose to do five leaf pairs, three rosettes, a few little berries, and a heart in the center.
Step 6: Bake the clay according to the package instructions. Ours has you bake for certain lengths of time depending on how thick the clay is. Then let it cool completely.
-
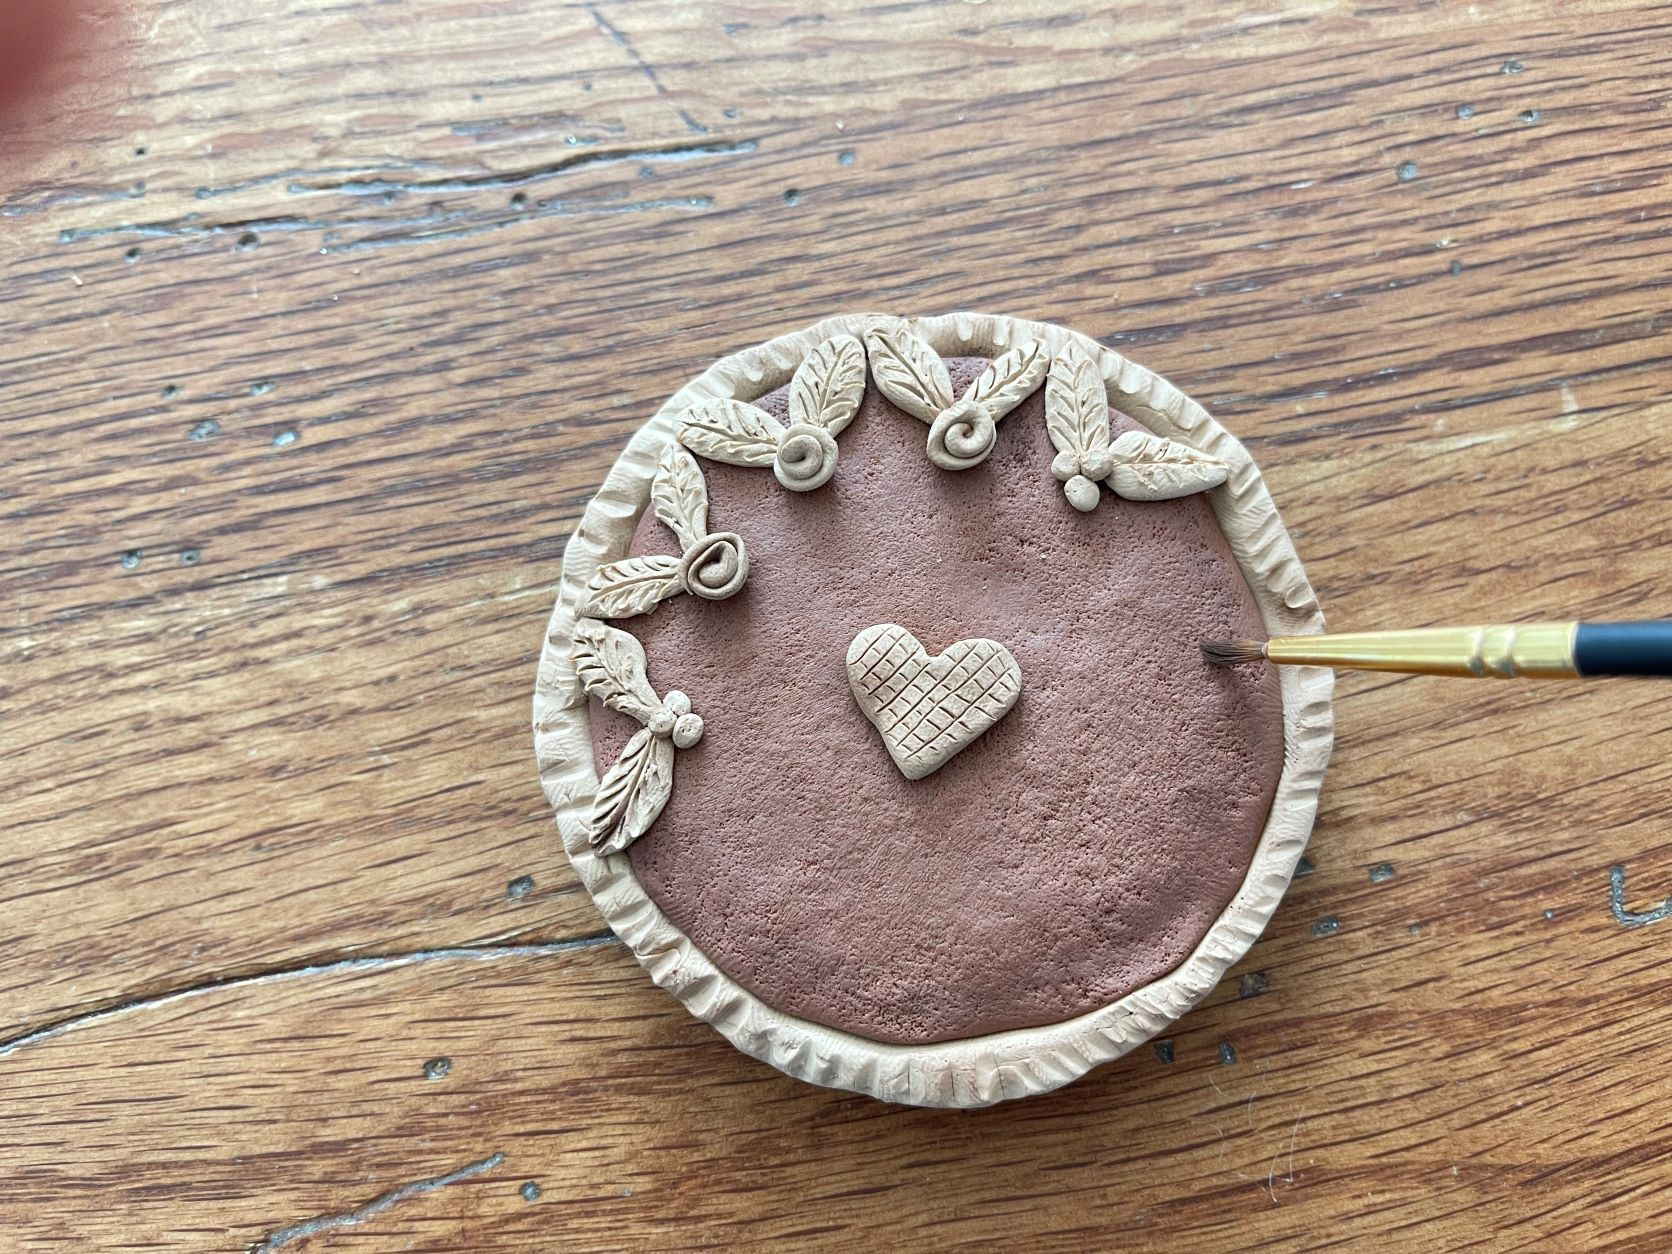
Step 7: This step is also optional. We used the chalk pastels to dust on a little brown color on the crust as well as the pumpkin part of the pie, just to add a bit of realism. For these chalks we scrape off some chalk dust onto sand paper, then rub a small dry brush into the dust, then onto the pie.
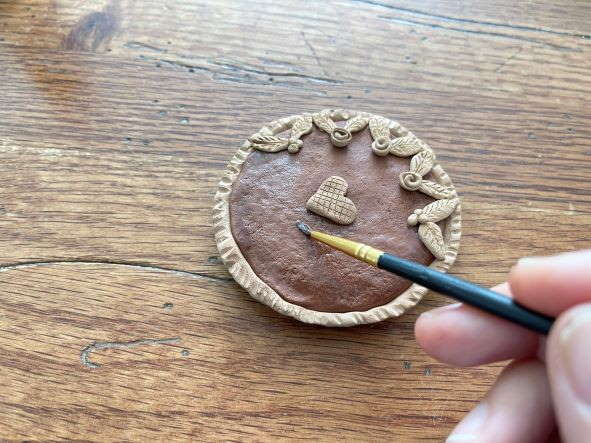
Step 8: The last step! Using your satin finish clear acrylic sealer, apply two coats of sealer to the pumpkin part of the pie only, letting it dry between coats. This gives the pie the same glossy look as a real baked pumpkin pie.
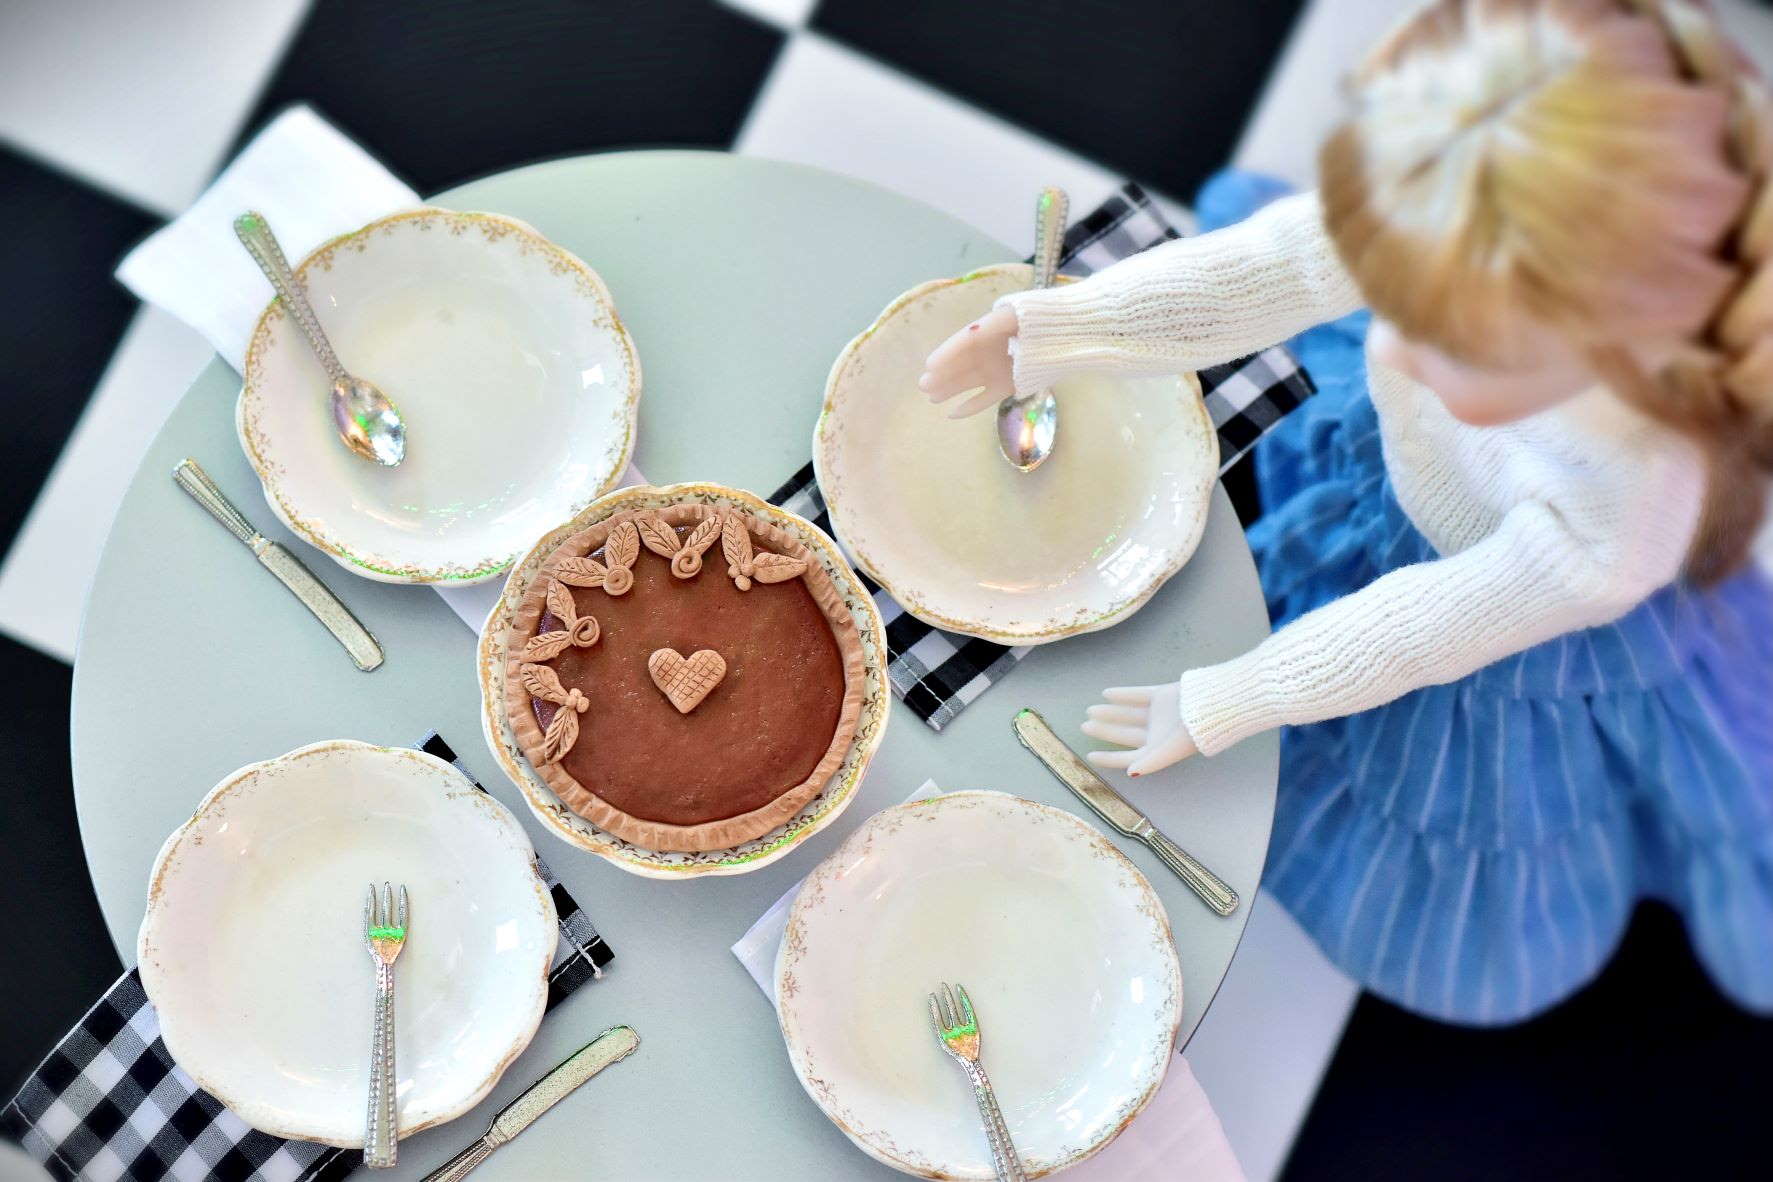
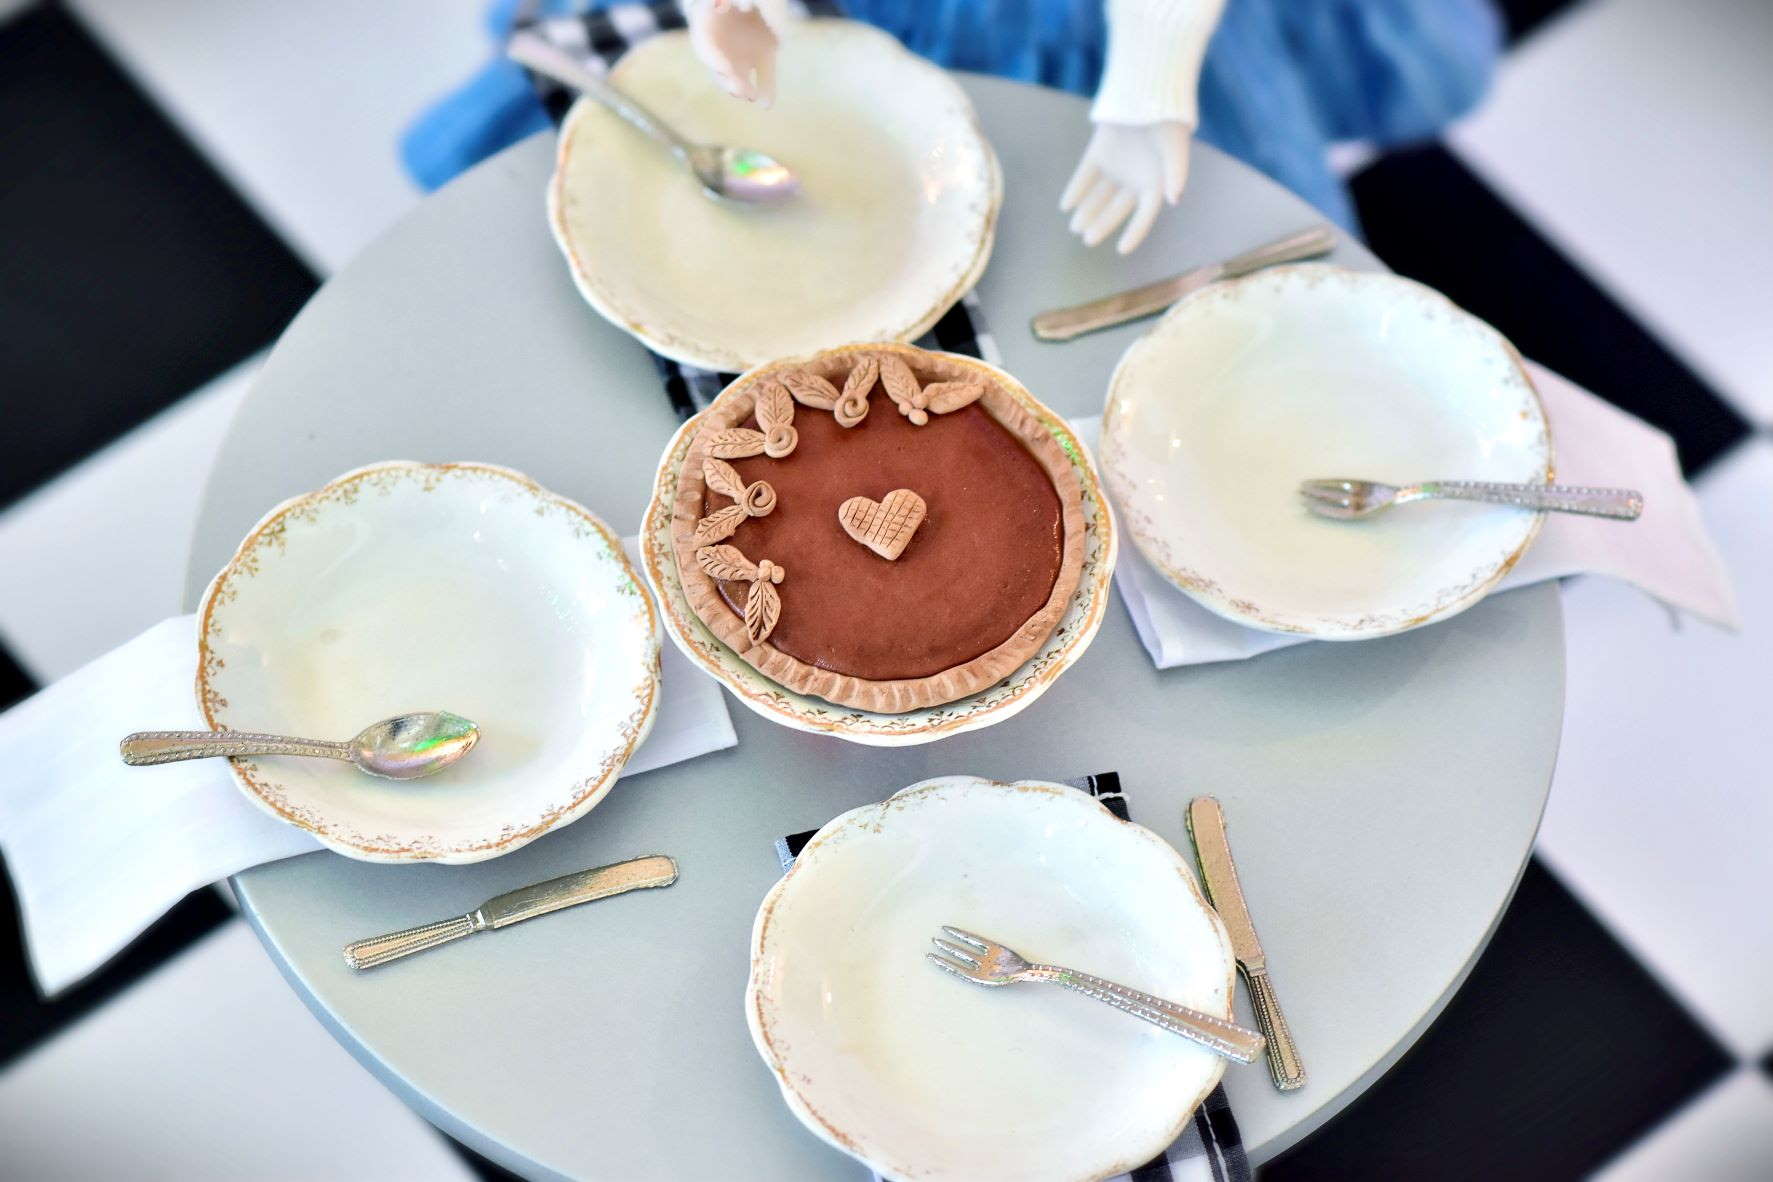
And that’s it! Once the clear coat dries your pie is ready for your dolls to serve to their friends and family for the holidays!
Remember to share your creations with us and your friends by using hashtag #rrffdiy and tag us on Instagram @rubyredfashionfriends_global
* Tutorial prepared by @forofsuch on Instagram for Ruby Red Fashion Friends

.jpg)