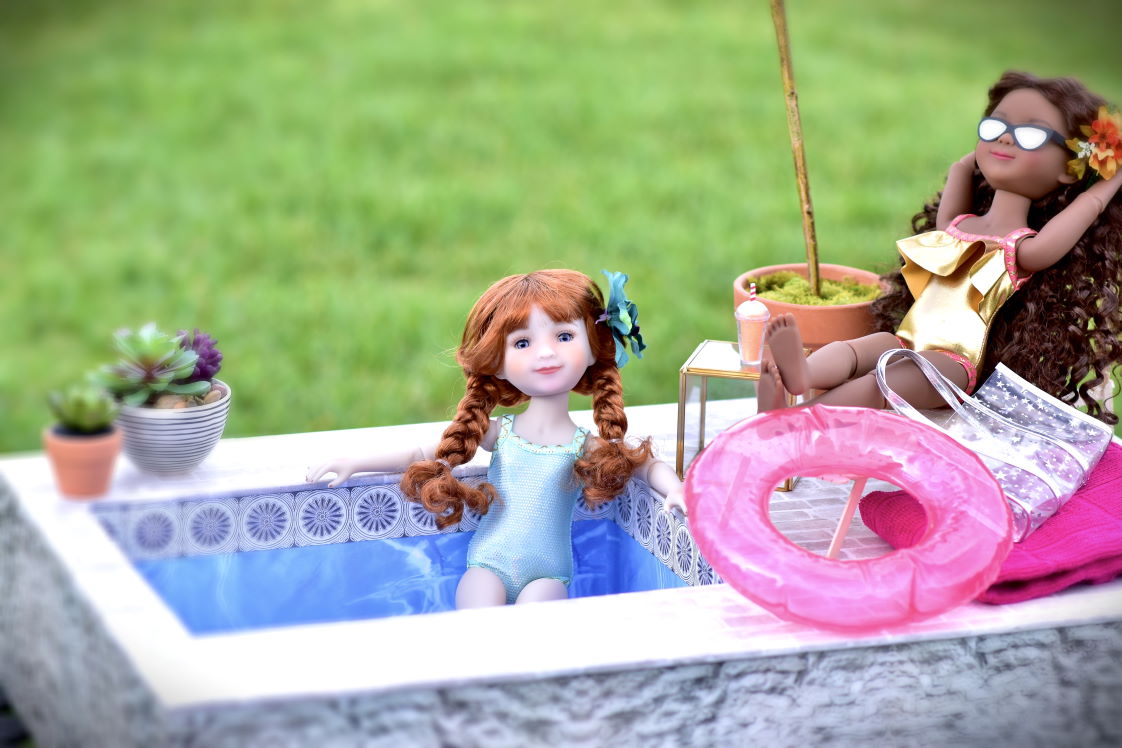
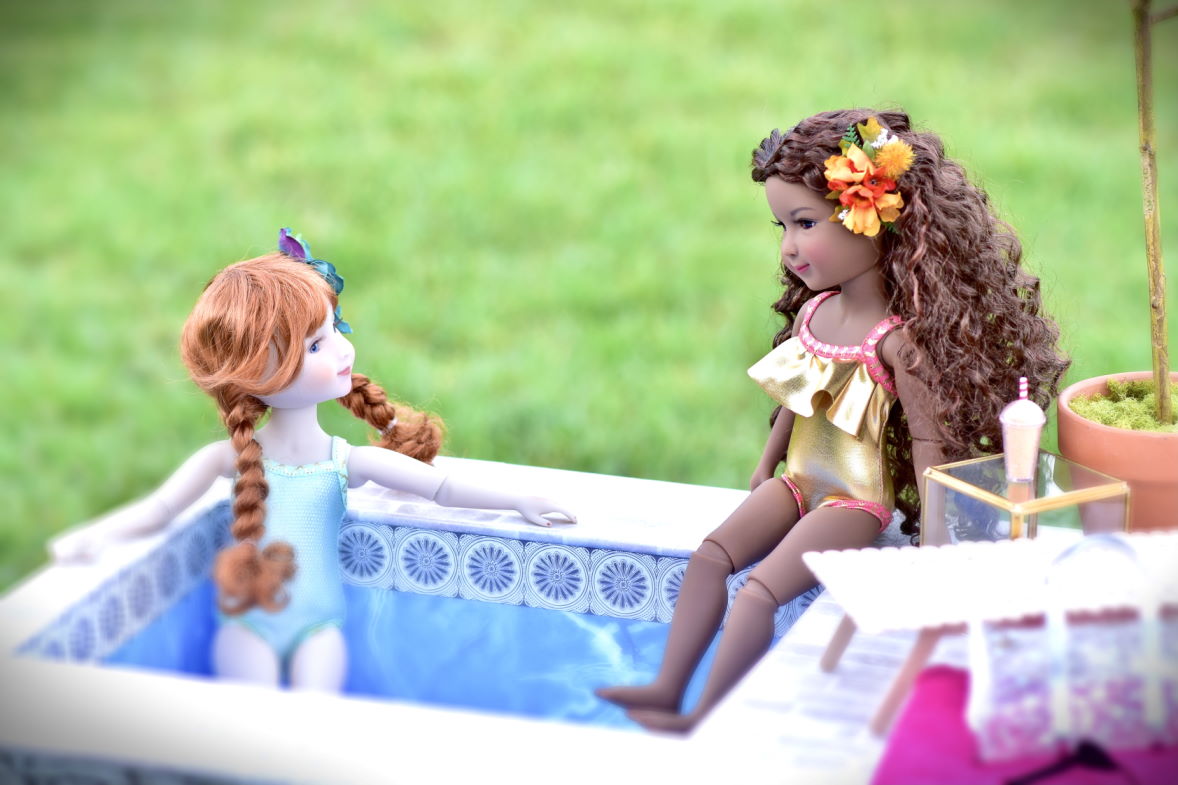
Summer is in full swing and we want to get as much fun out of it as we can! So do our dolls, so join us as we make a fun and realistic looking pool for our Fashion Friends to enjoy. They’ll love soaking in the sun on the pool deck or splashing in the pretend water in the pool. How many of your doll friends will come to play? *Parental guidance is recommended if you are not an adult.
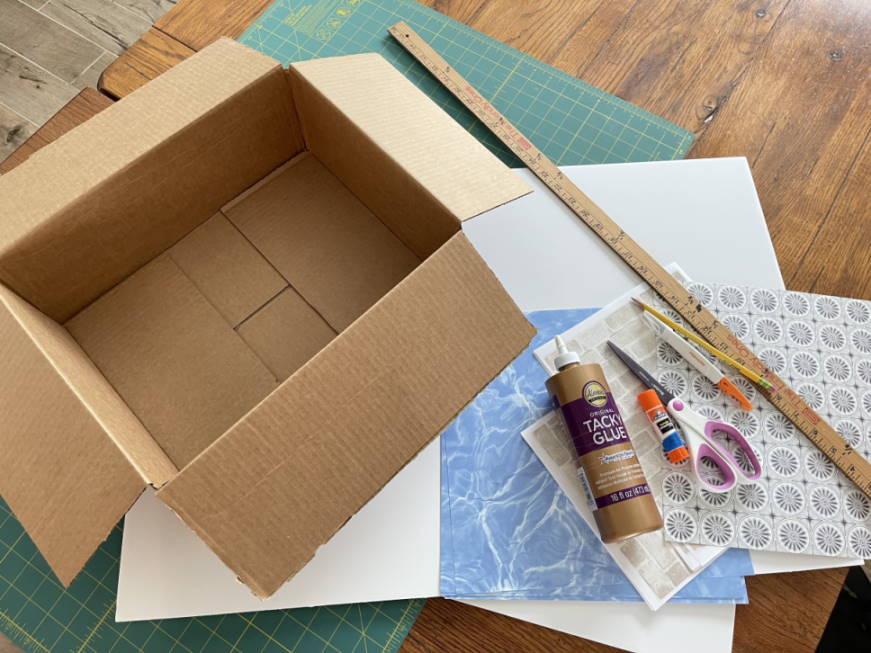
Supplies: • Cardboard box big enough to sit your dolls into • 2 sheets of 20x30 inch/51x76cm foam board • Craft glue or hot glue glue gun and glue sticks (White school glue will not work; it is too runny. We used tacky glue.) • Stick glue • Scissors • Self-healing mat • Xacto knife or craft knife • Straight edge or yard/meter stick • Ruler • Pencil • Scrapbook papers that look like water, stone, bricks, pavers, and tile (If your craft store does not have suitable papers or you can’t get to the store, try an online marketplace that sells digital scrapbook paper designs. You can get an instant download of any design you want for just a few dollars!) • Masking tape
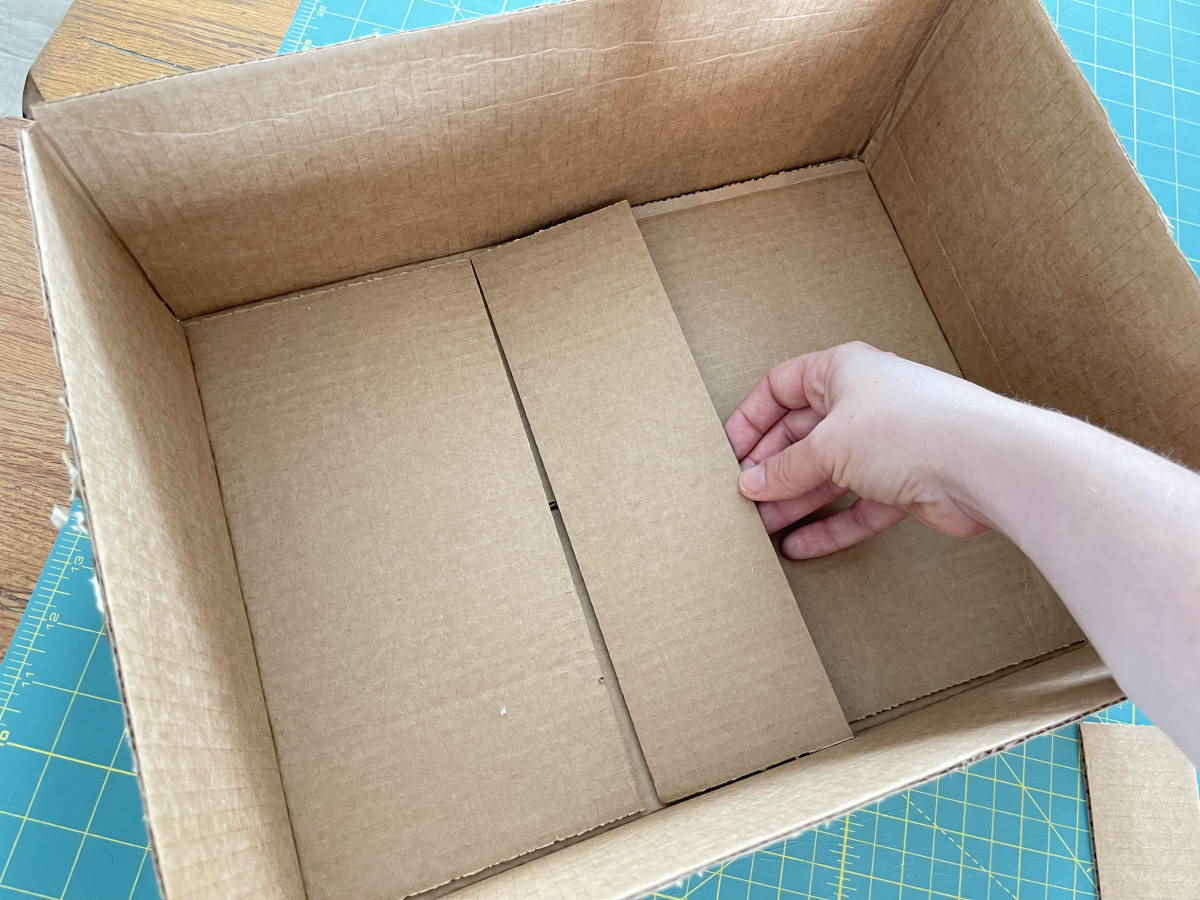
Step 1: Remove the flaps from your cardboard box. Then measure and cut a piece of cardboard to fit in the gap at the bottom where the flaps do not meet. Glue this piece in place.
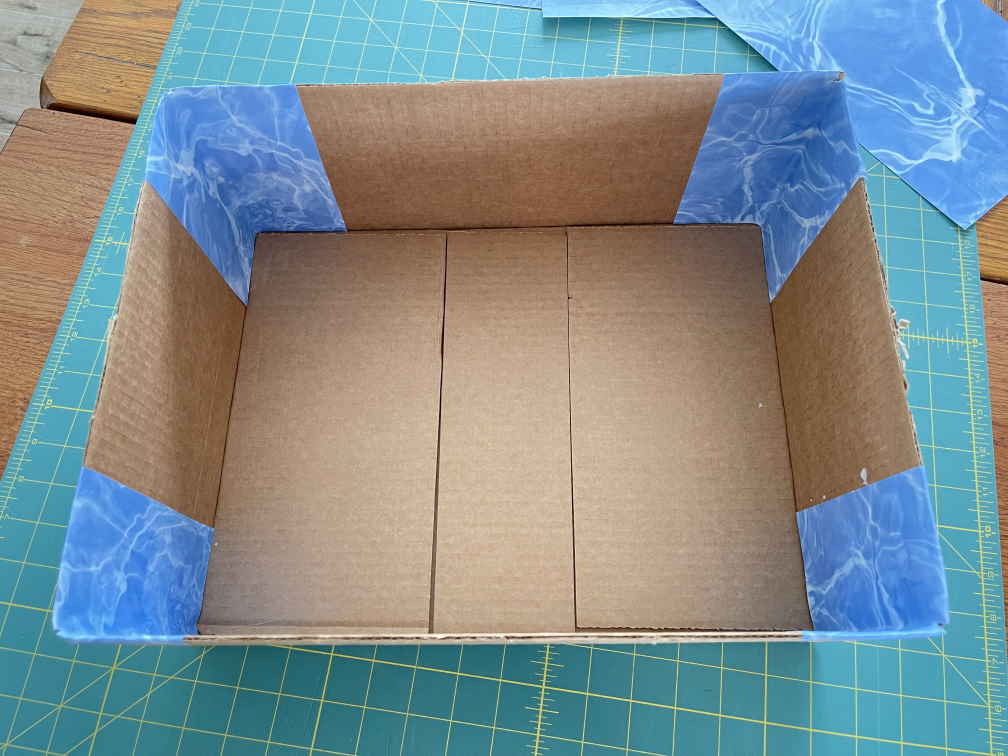
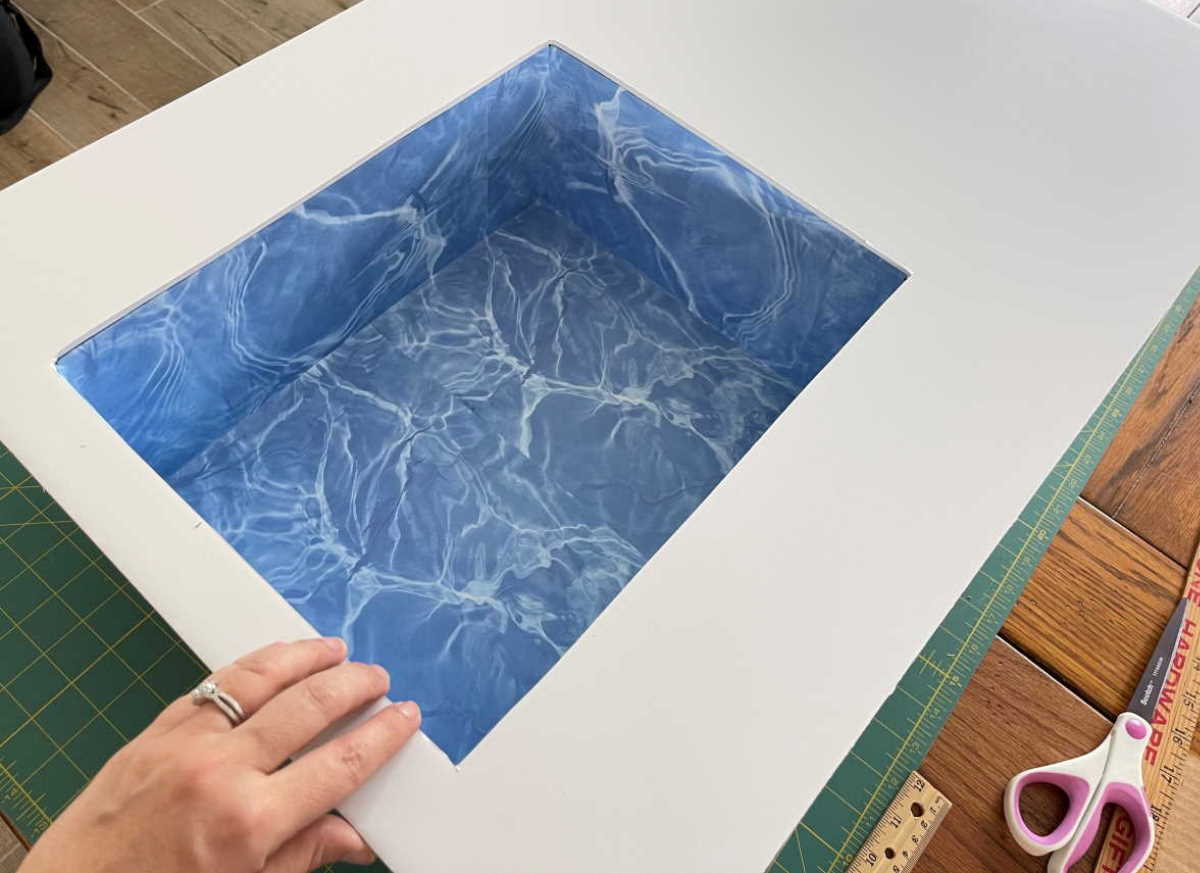
Step 2: Line your box with the water paper. Using your craft glue to apply it, trim and cut pieces of water paper to fit your box. For good coverage, apply paper in the corners first, then the sides, letting the paper run up and over the top edge of the box and down and onto the bottom just a bit. This is so none of the cardboard box will show when you are done.
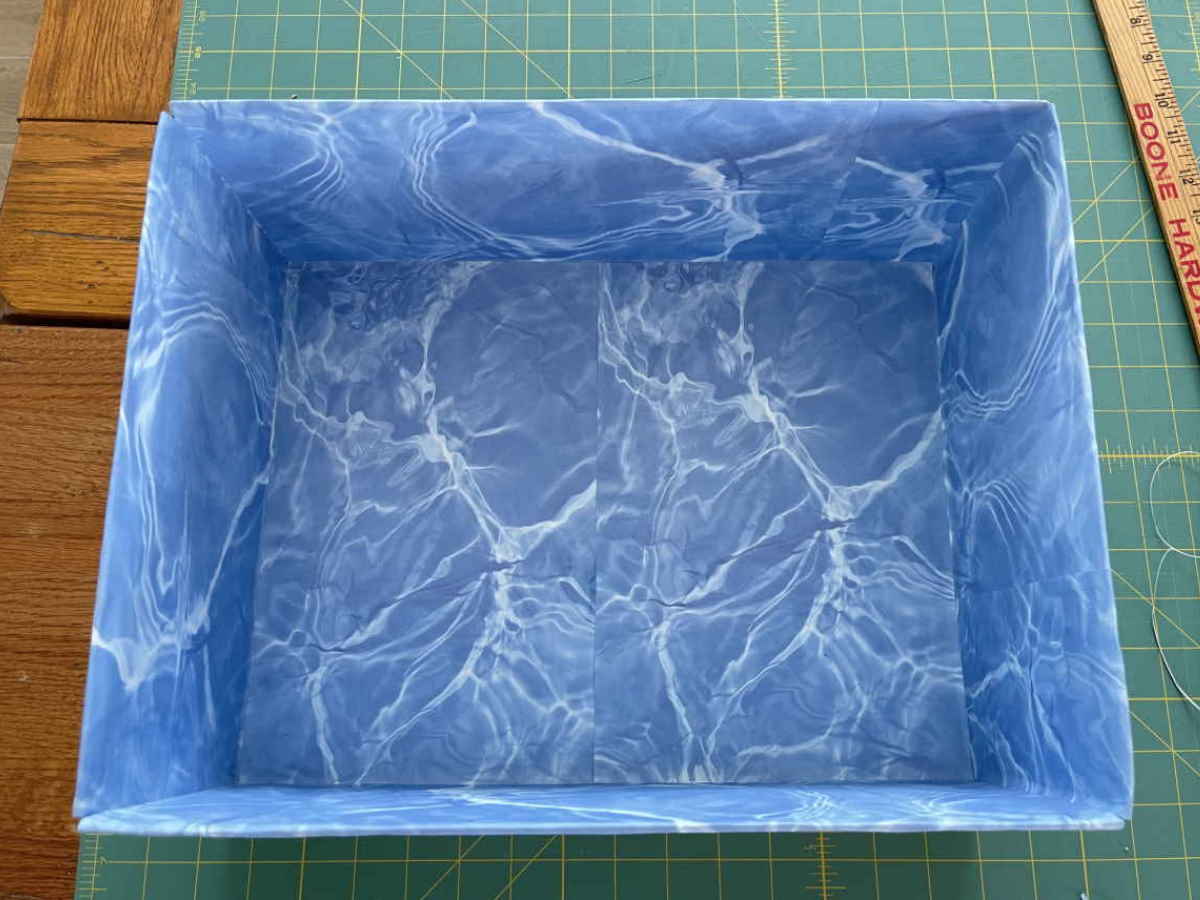
Finish by measuring and cutting a piece of water paper to fit in the bottom of your box and glue it in place. It is starting to look like a pool already!
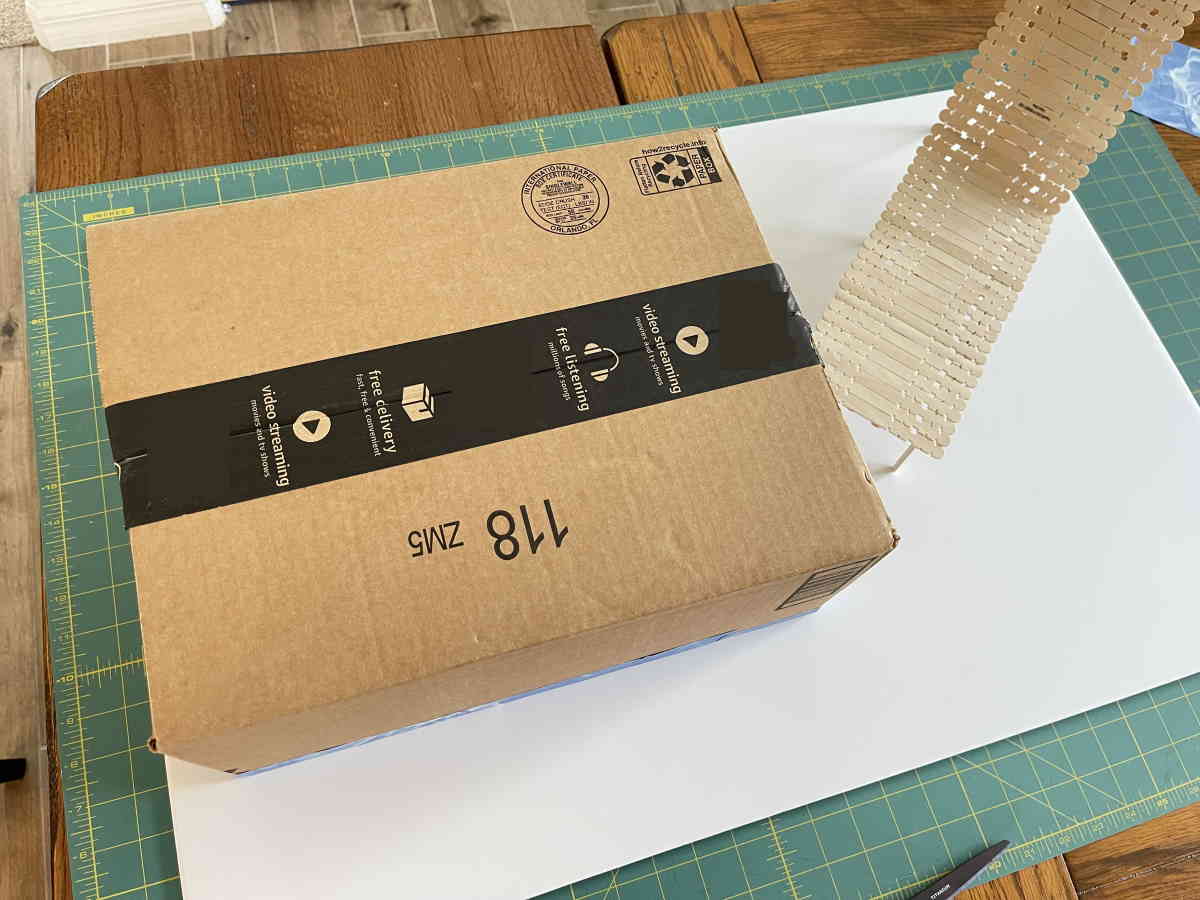
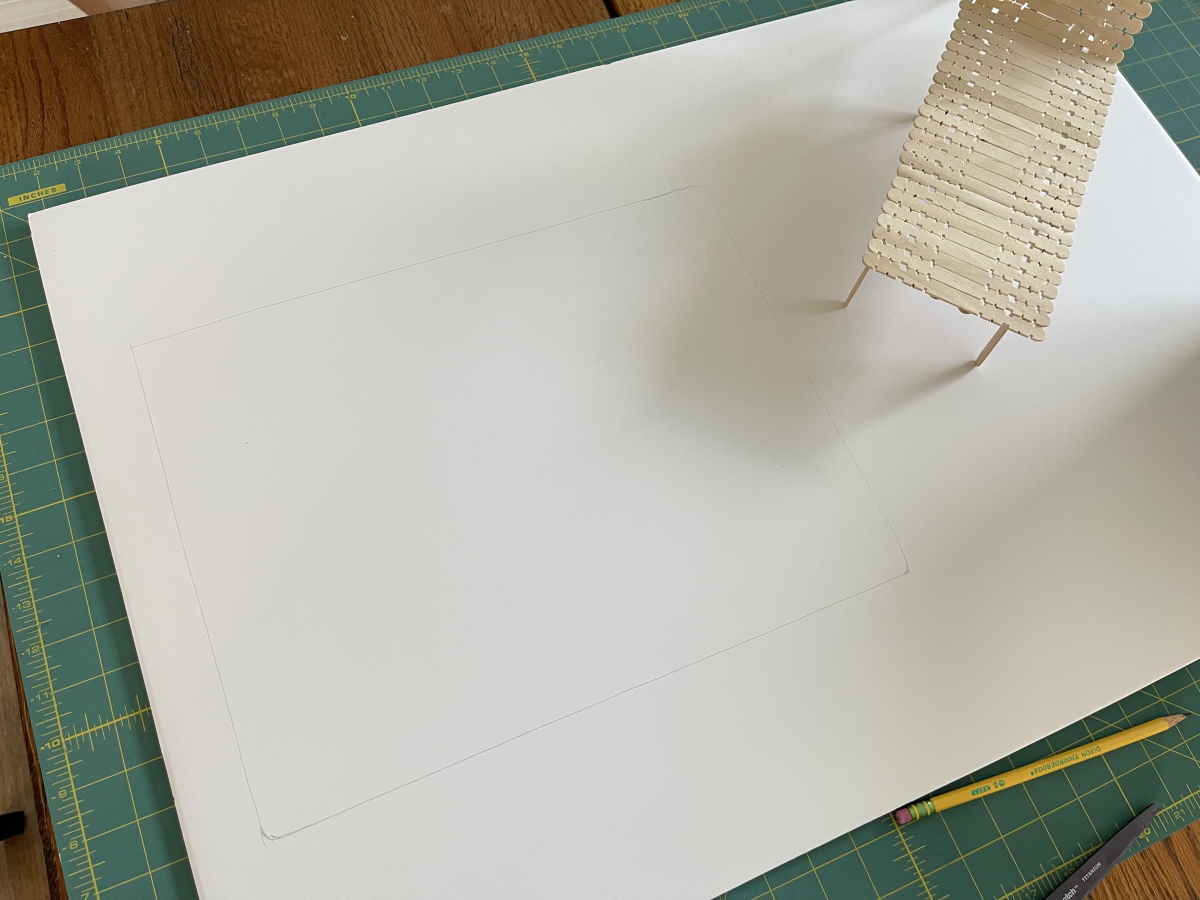
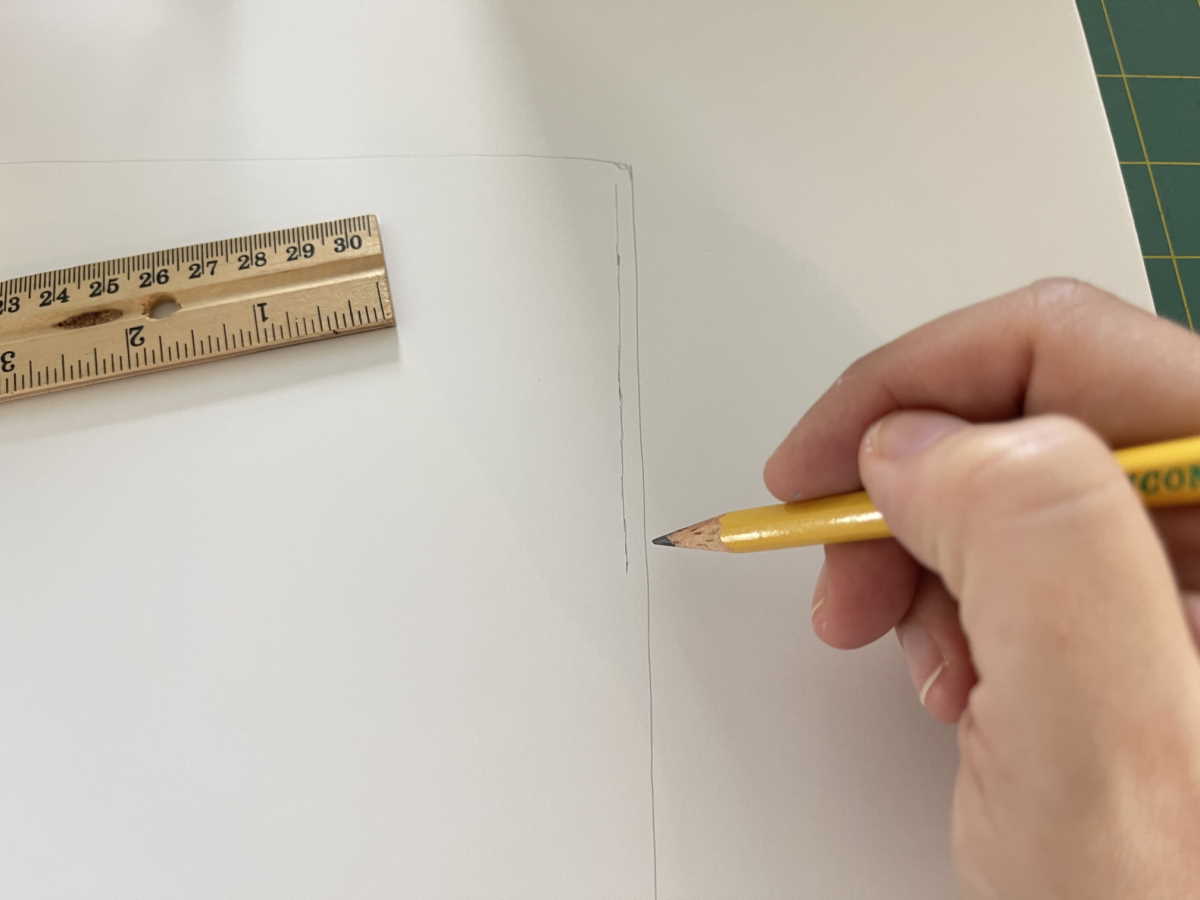
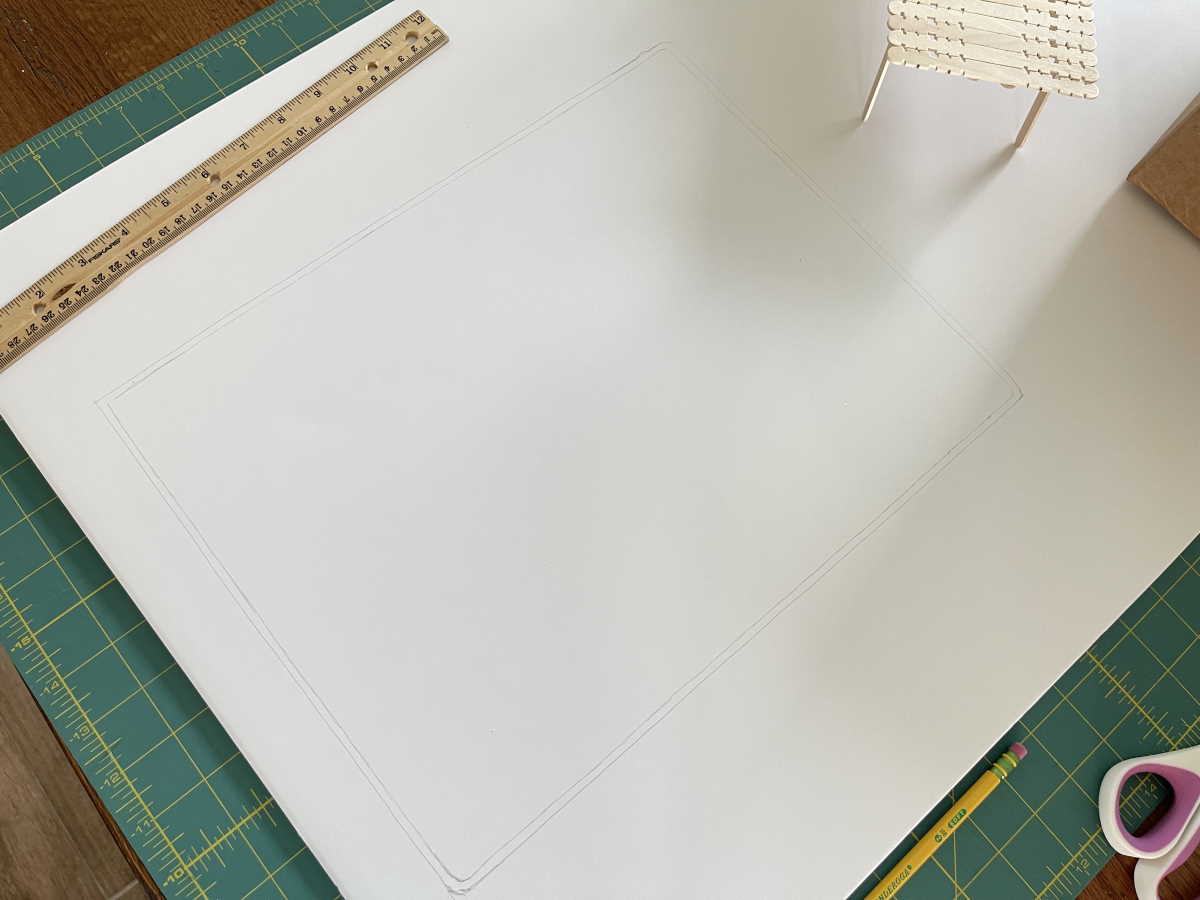
Step 3: Decide on the placement of your pool on the foam board. Set your box upside down on the foam board and trace around it. We chose to have our pool to one side with room for a deck on the other to set our lounge chair on.
Once your box rim is traced around, remove the box and go back and draw a line within the rectangle you just drew, about 1/8 inch/0.3 cm in. This will be our cut line for the pool opening, and it will give us a lip so the box can be glued to the underside of the “deck” foam board.
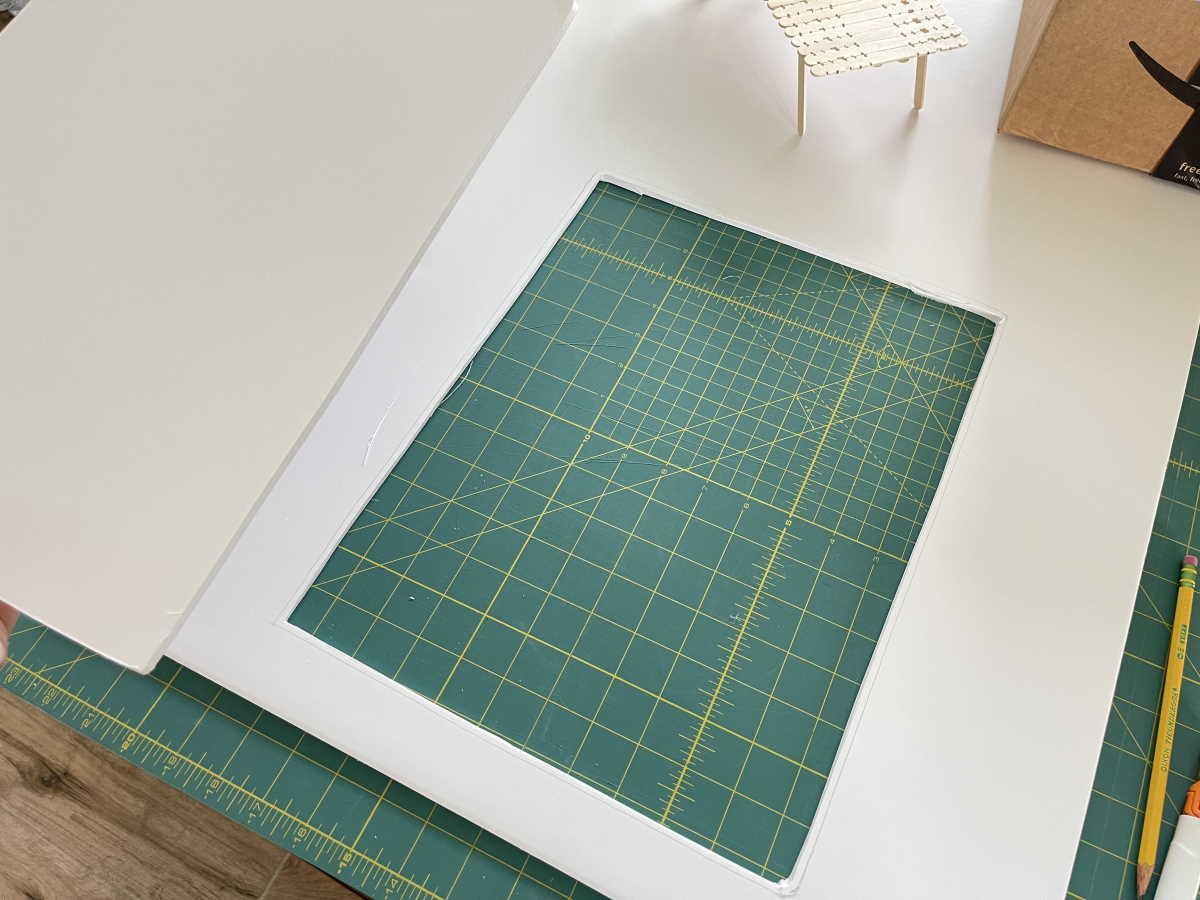
Step 4: Use your craft knife on your self-healing mat to cut out the inner, smaller rectangle of foam board. Then flip the foam board over and try it out with the “water” box underneath. Take the time now to adjust the shape if you need to, by trimming more with your craft knife. You want it as flush as you can get it without it being too big!
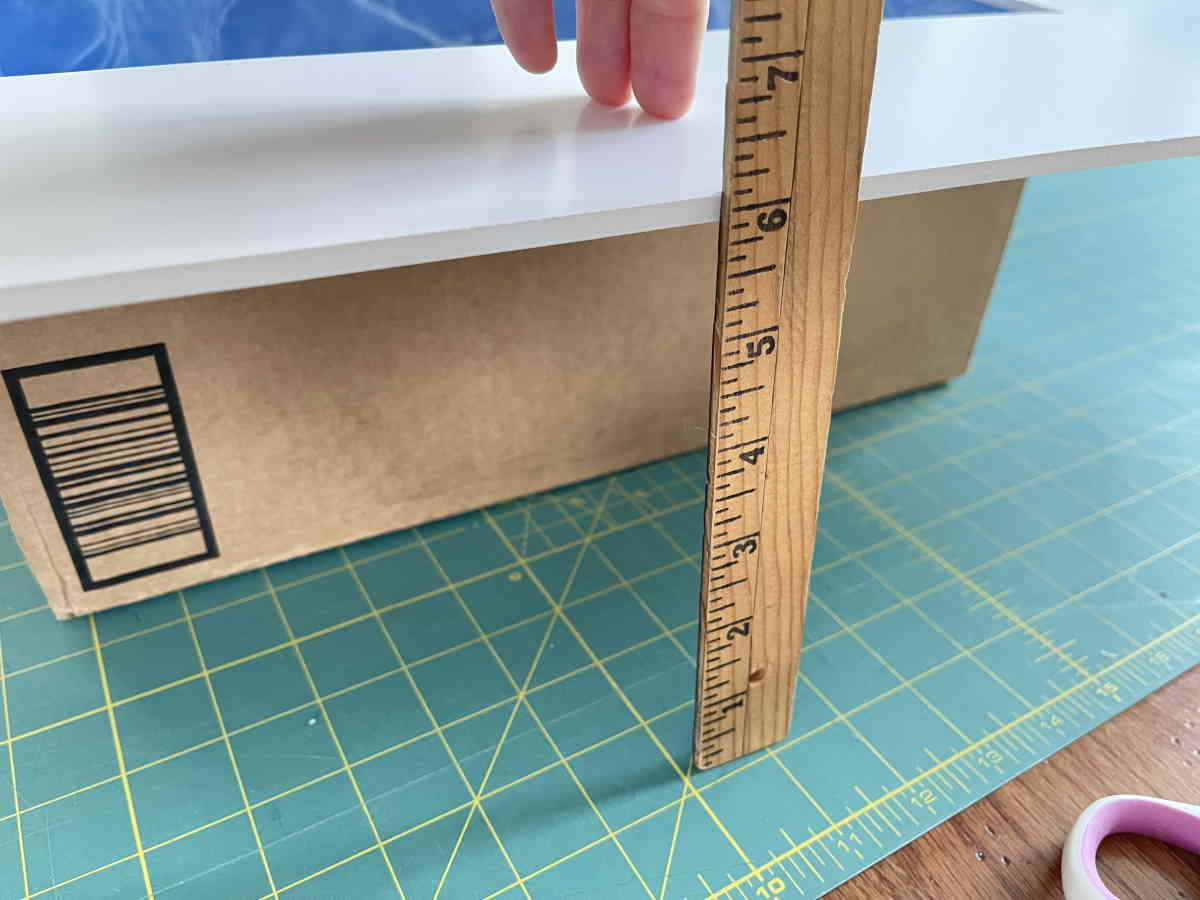
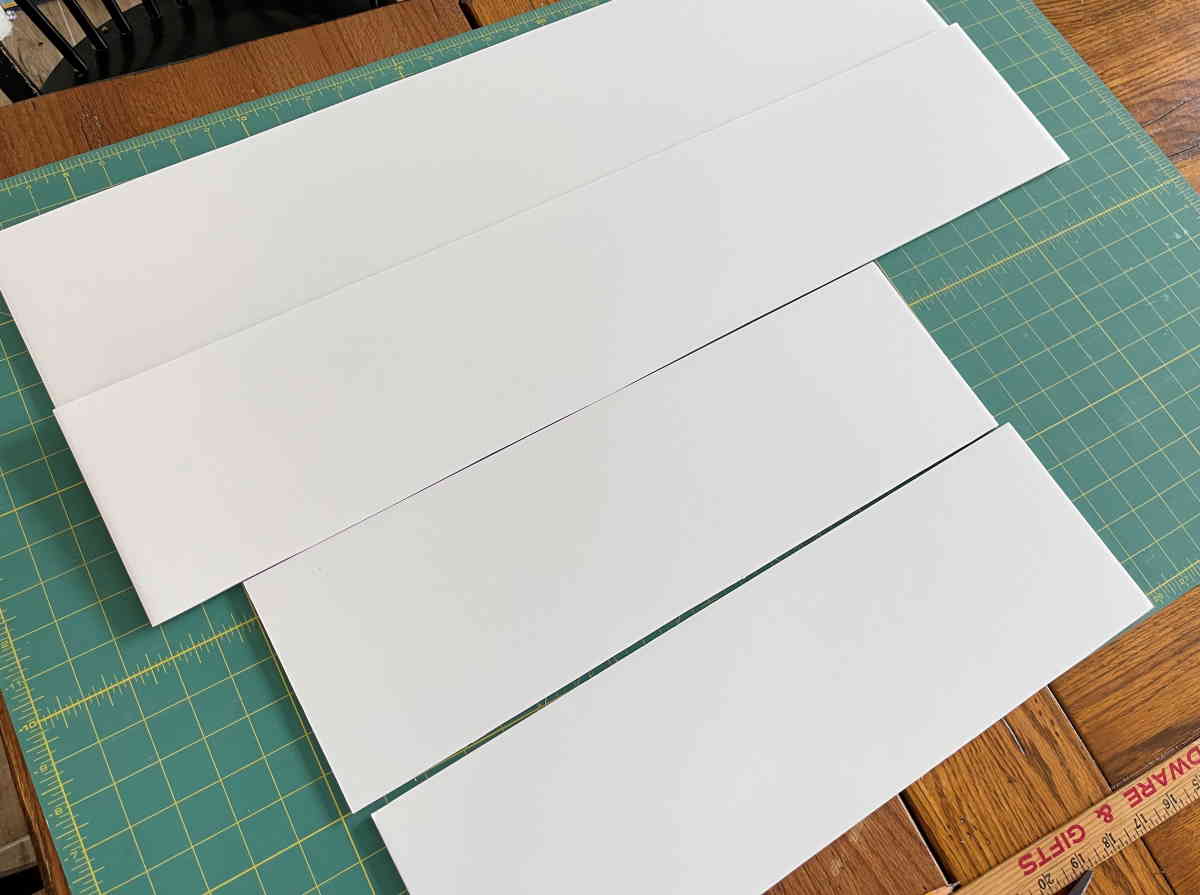
Step 5: Now we are going to add support for your pool deck all the way around. Measure how high your “deck” foam board piece is from the ground when sitting on your water box. Ours was almost 6 inches/15.3 cm so we made our sides 6 inches/15.3 cm tall by the width of the foam board. Cut four strips of foam board from the second large piece of foam board to be the four sides of your pool deck. Two of them would be 30 inches/76 cm long and two of them would be about 19.5 inches/50 cm long.
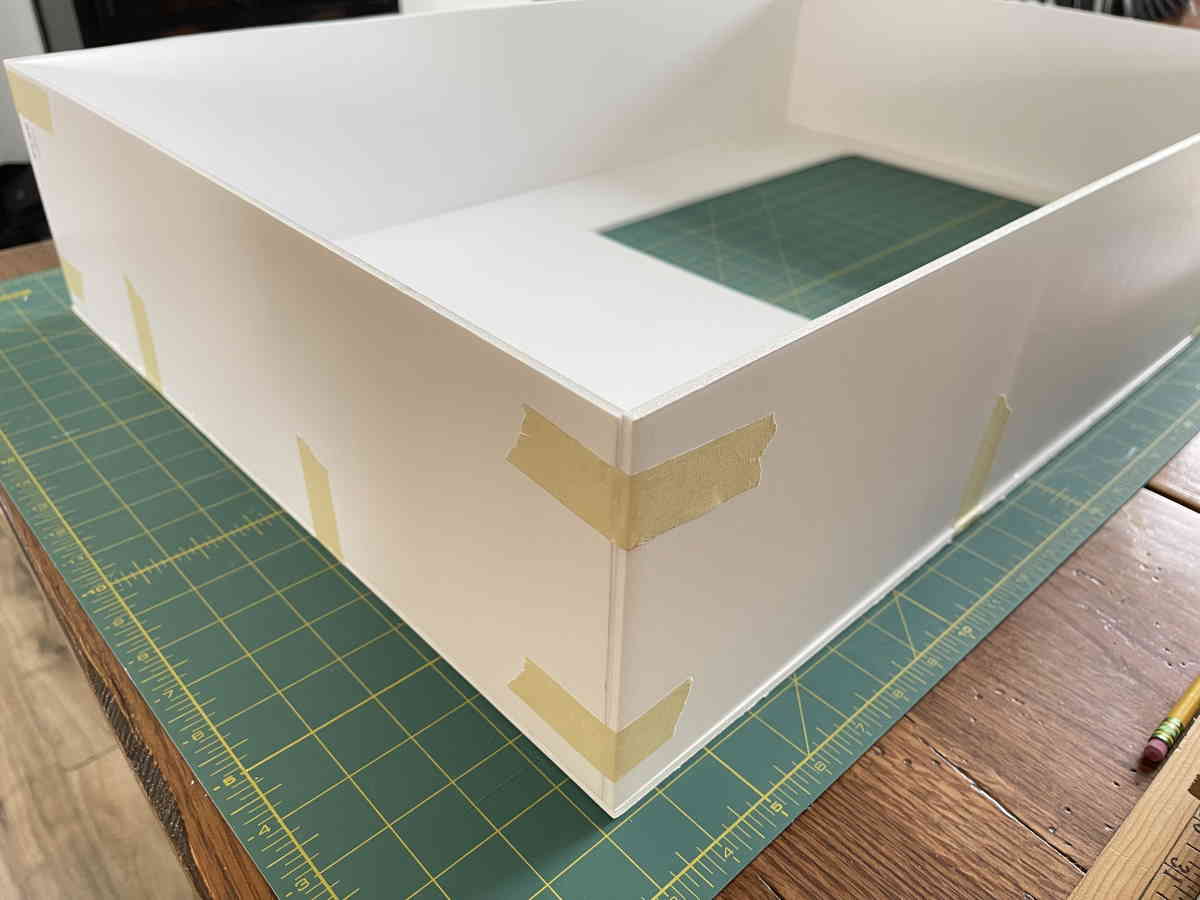
Using your craft glue and masking tape, first glue the four sides on to the underside of the pool deck, making an open box shape, and gluing them to each other at the corners, then secure with the masking tape. We will leave this tape in place because we will be covering it with stone paper later.
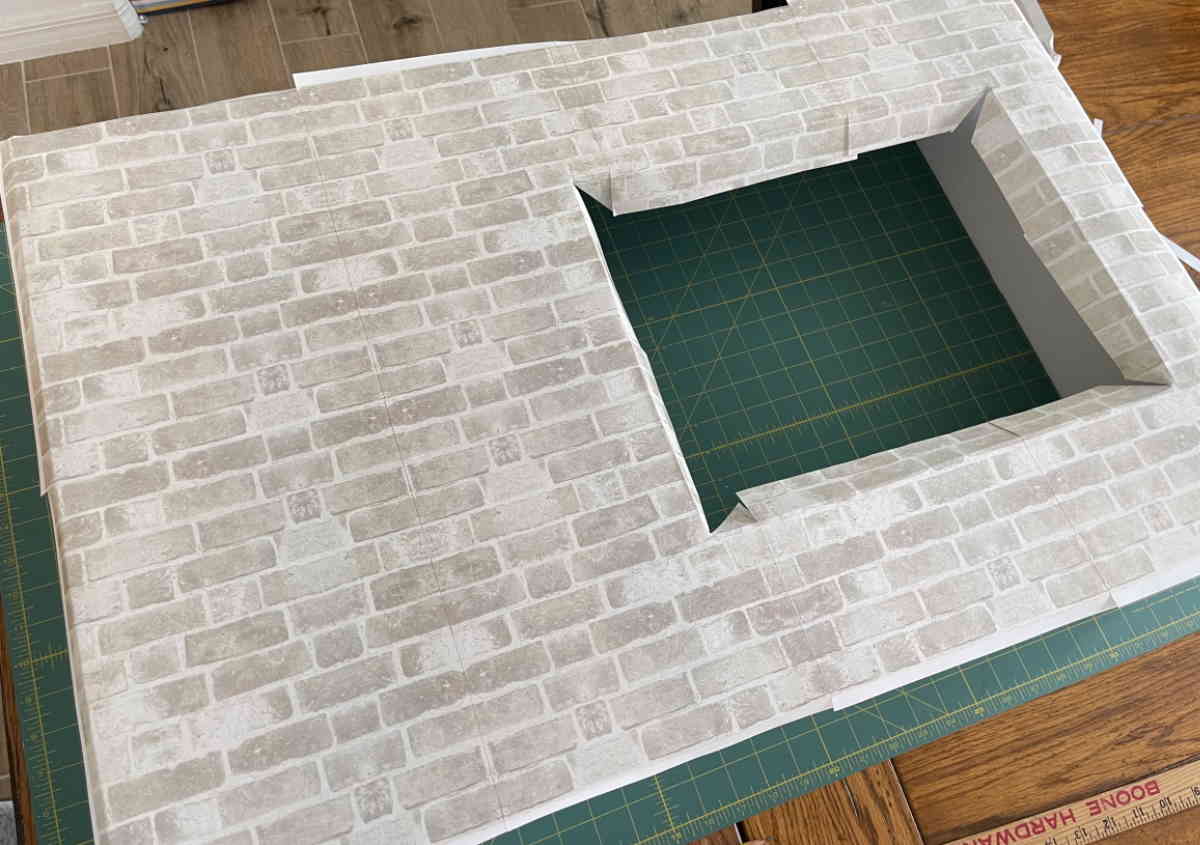
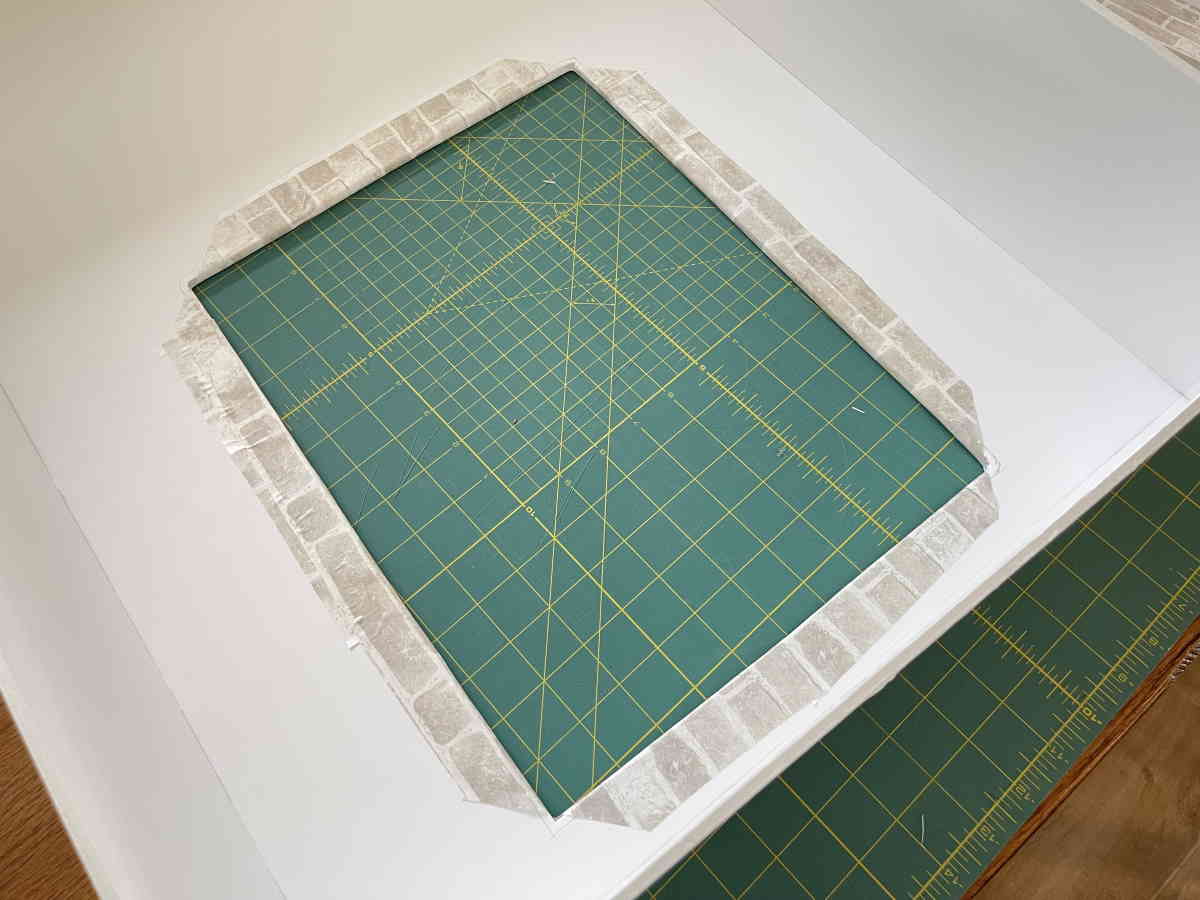
Step 6: Next you are going to apply your stone or paver paper over the whole top of the pool deck, using your stick glue. Try to line up your pattern as closely as you can so it will look more realistic! When you come to the opening for the pool, leave your paper to hang over the sides and make angled cuts at the corners..
Now turn your pool deck over and wrap and glue down the extra paper around the pool opening.
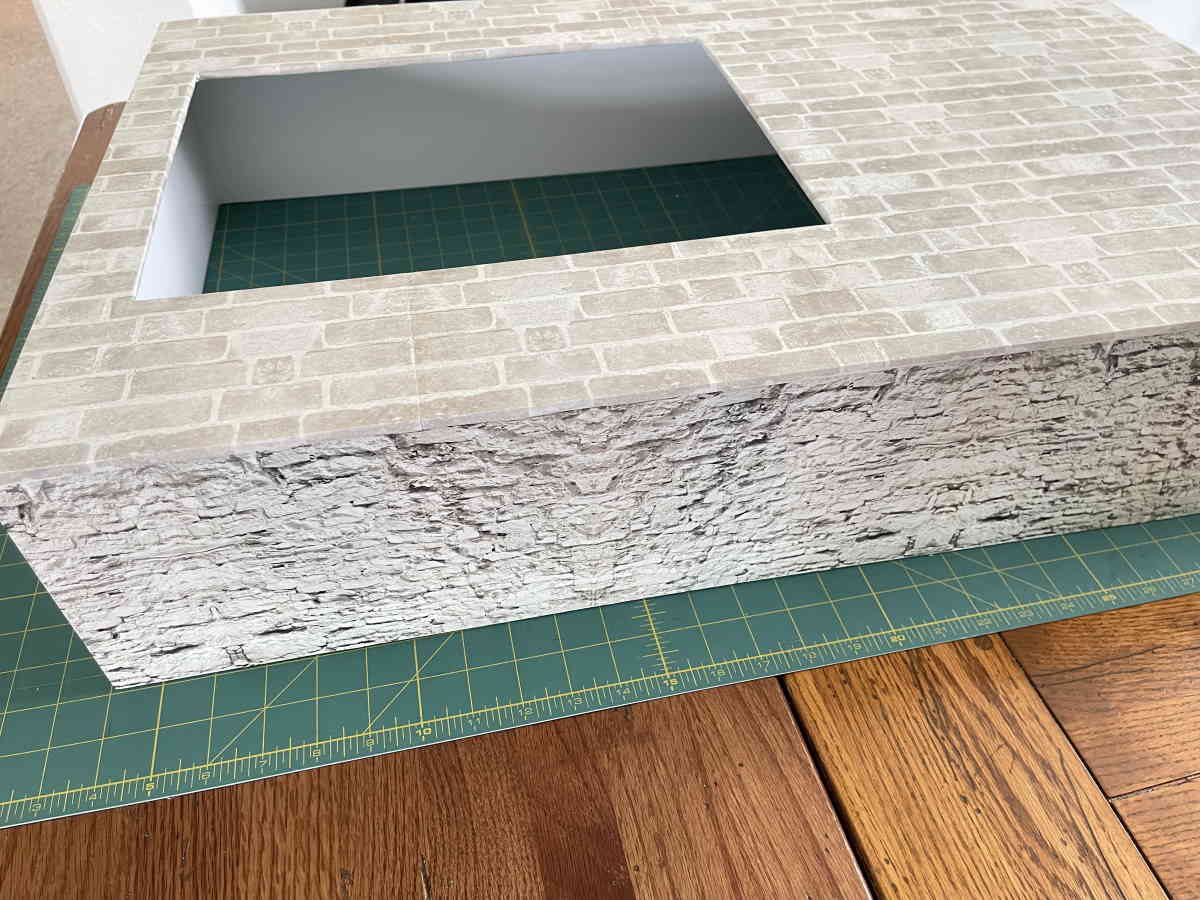
And then cover the sides of your pool deck with a different stonework-look paper.
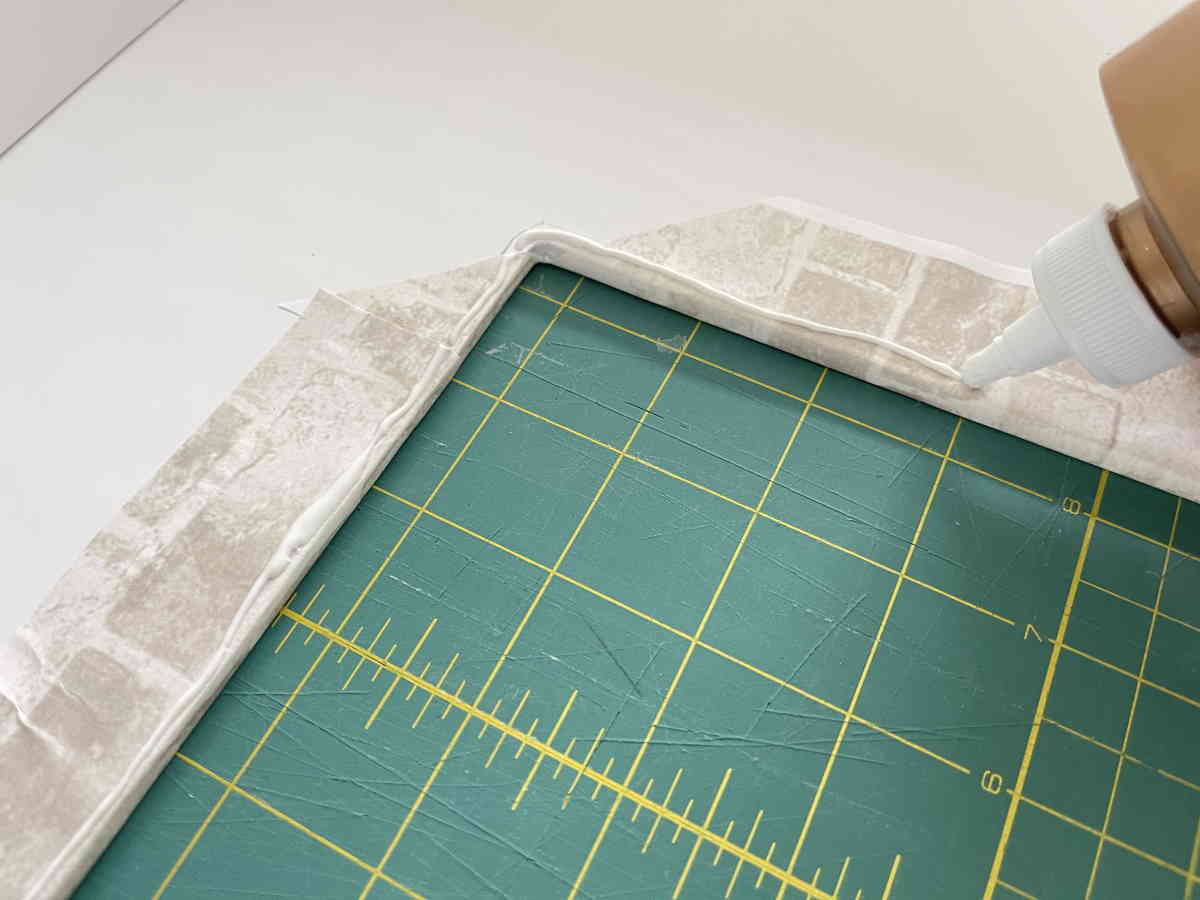
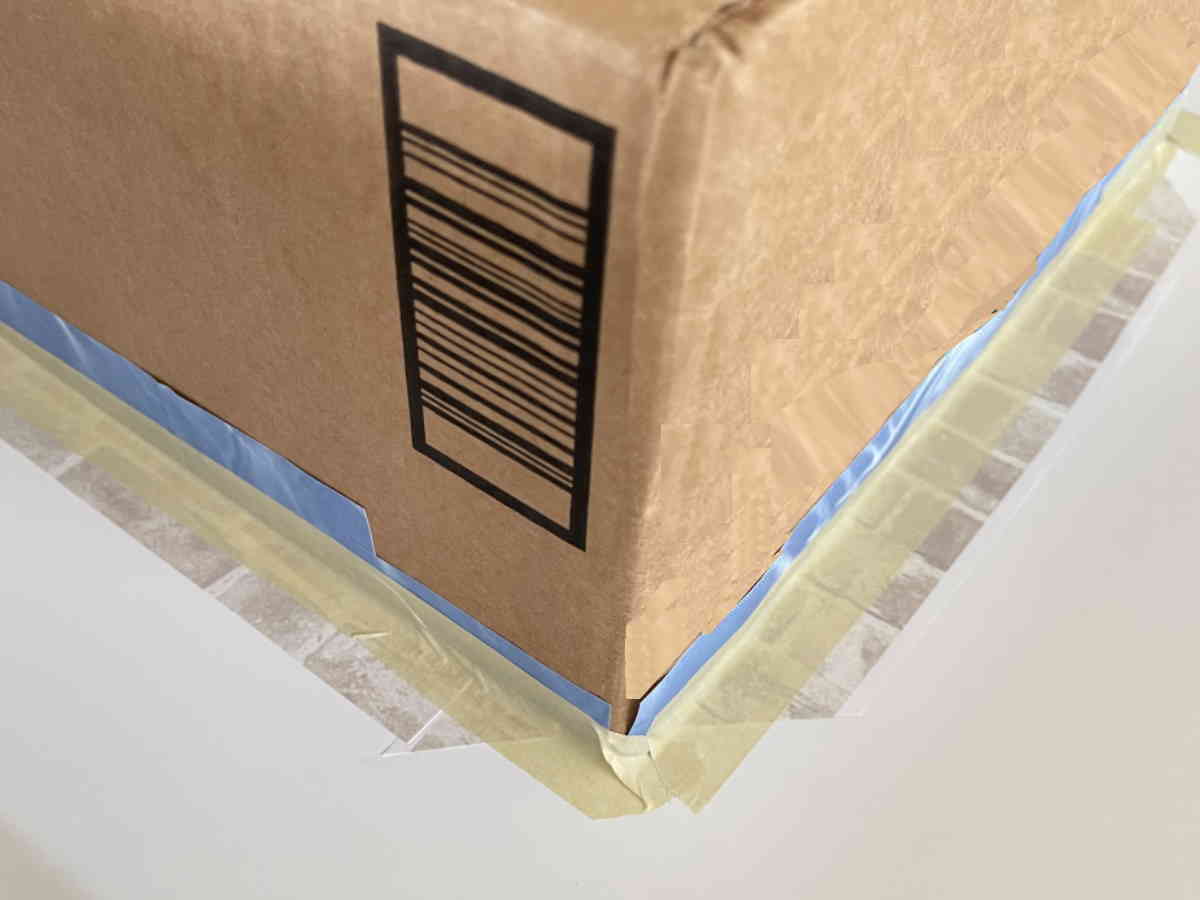
Step 7: Now is the time to glue on the water box! Flip your pool deck upside down again and apply a line of glue around the edge of the opening. Make it as close to the edge as you can, then set your box in place. Use more masking tape to secure the box all the way around.
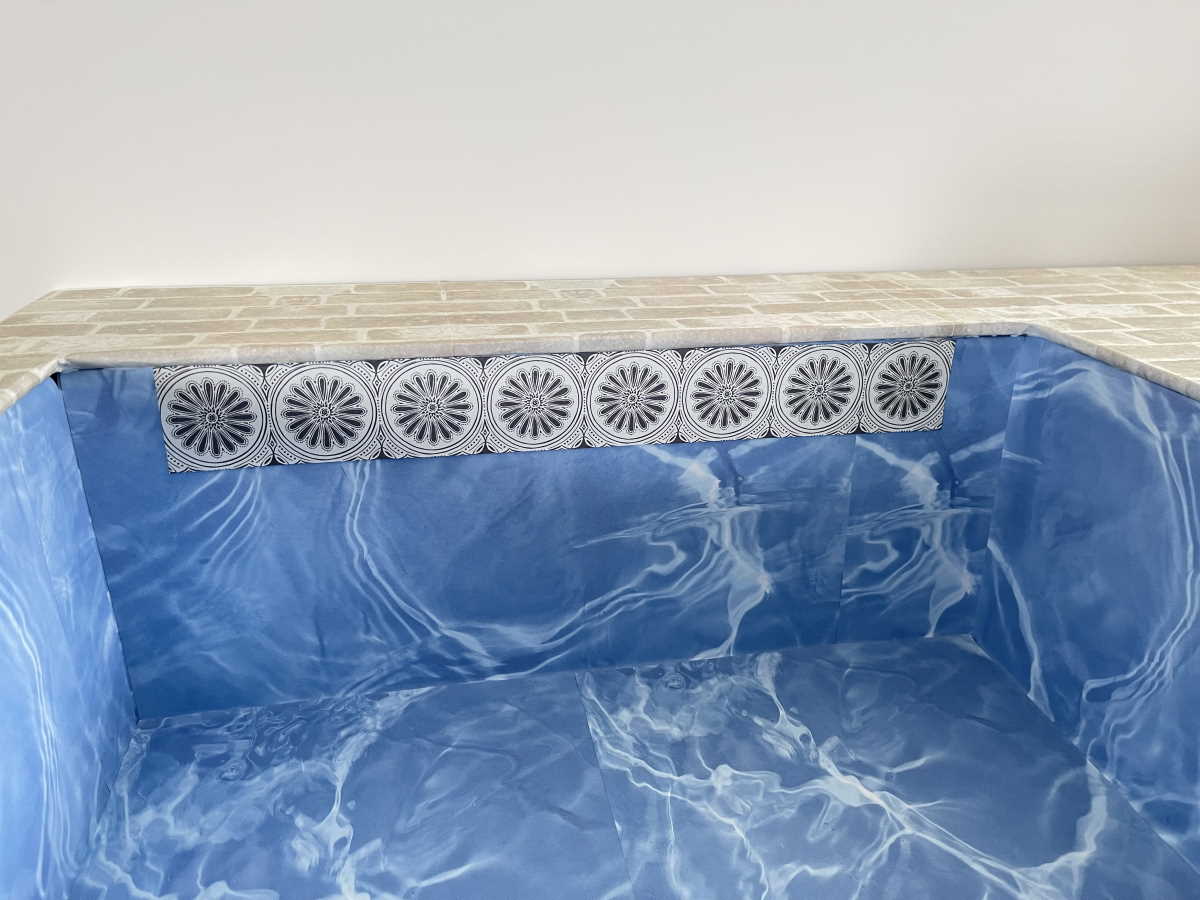
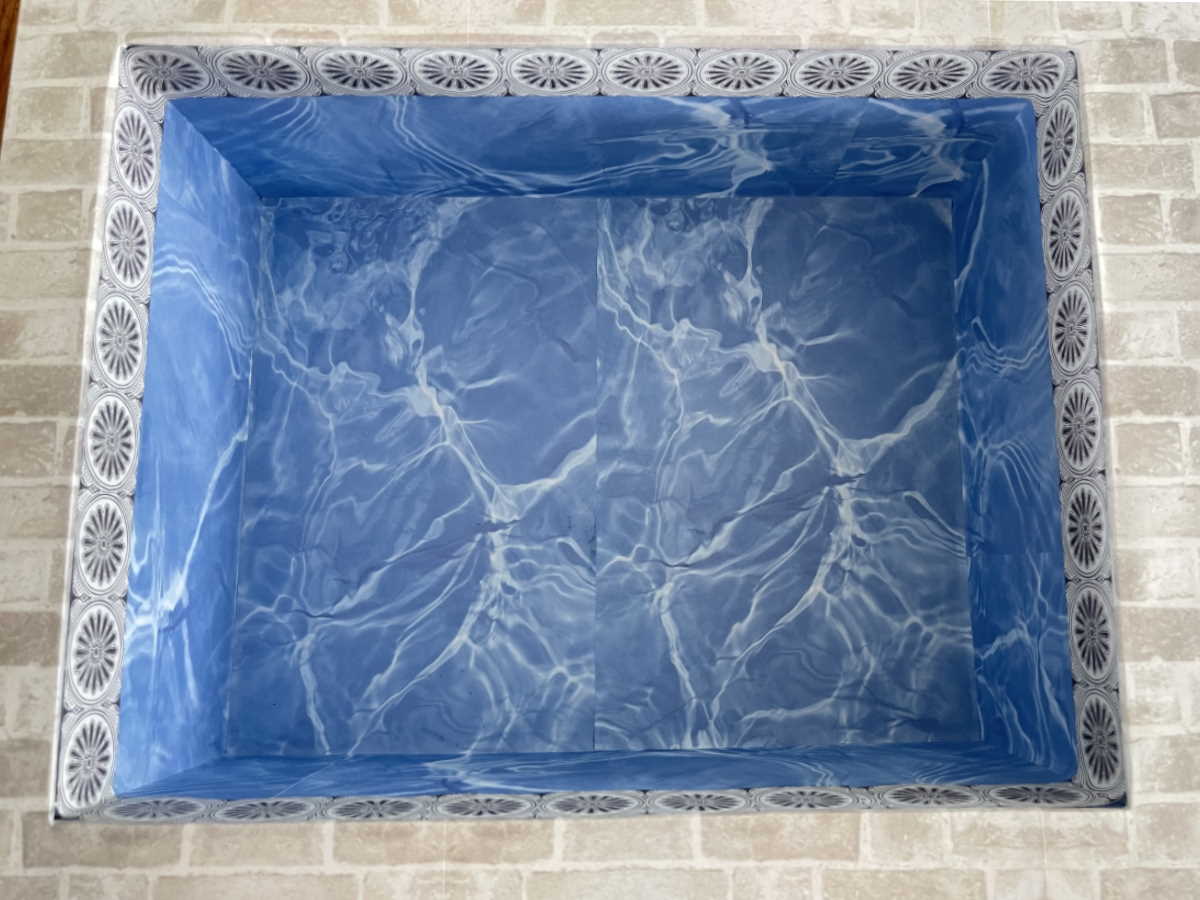
Step 8: The final step is to use your tile paper to cut strips of tiles and tacky glue them around the top inside of the water box. Take some time to match up the tiles as best you can for a nice, realistic look.
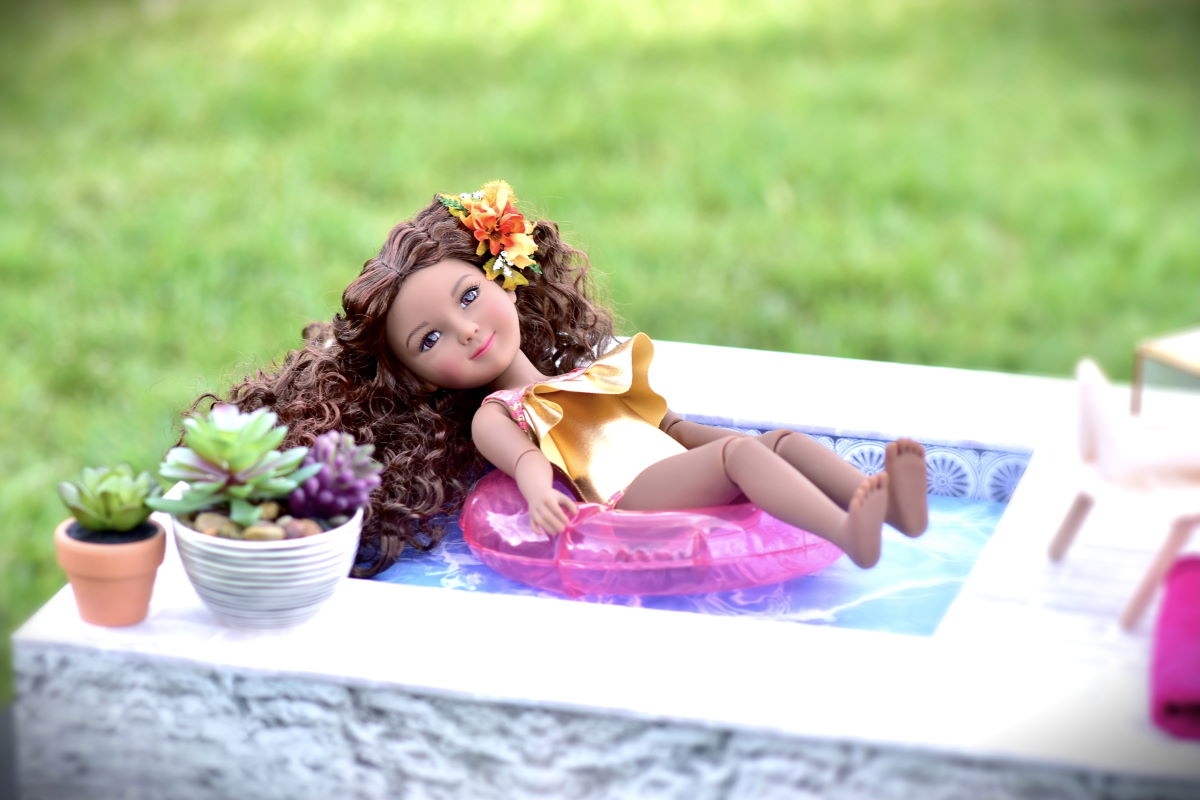
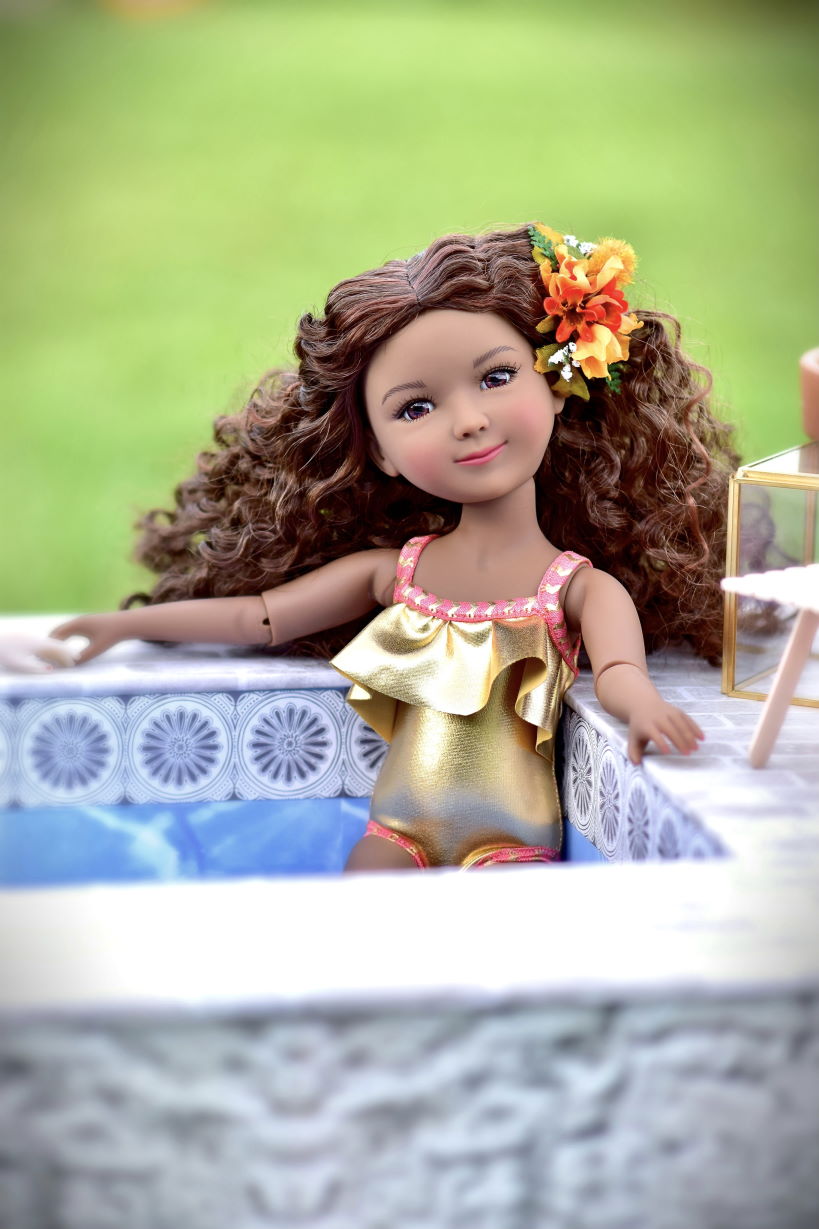
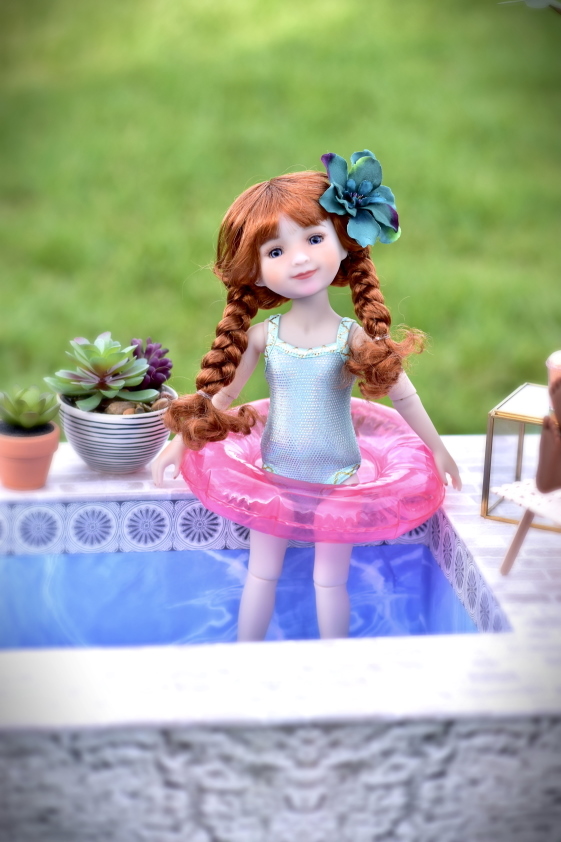
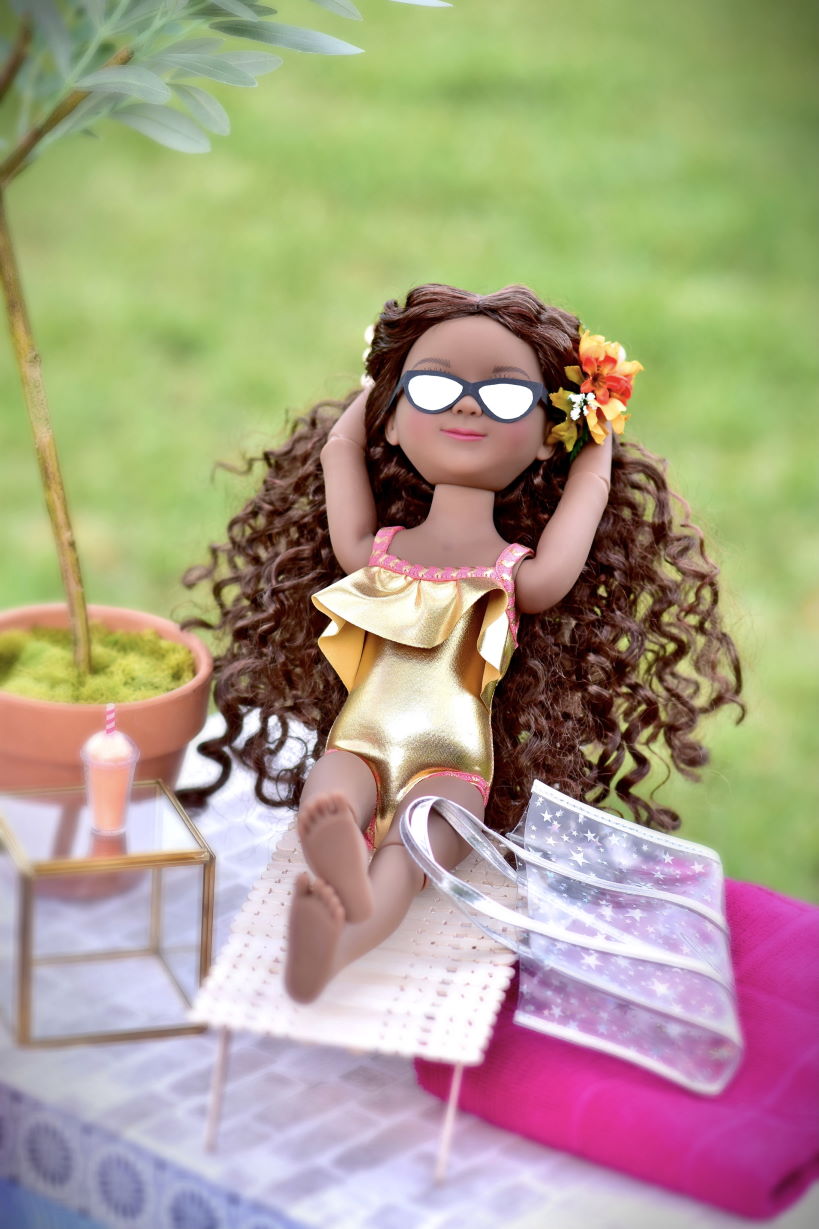
And with that final step, your fabulous doll pool is finished! Get your dolls dressed in their swim suits, grab a lounge chair for the pool deck, and go outside and enjoy the summer sun!!
Remember to share your creations with us and your friends by using hashtag #rrffdiy and tag us on Instagram @rubyredfashionfriends_global
* Tutorial prepared by @forofsuch on Instagram for Ruby Red Fashion Friends
Swimming Pool Tutorial
Summer is in full swing and we want to get as much fun out of it as we can! So do our dolls, so join us as we make a fun and realistic looking pool for our Fashion Friends to enjoy. They’ll love soaking in the sun on the pool deck or splashing in the pretend water in the pool. How many of your doll friends will come to play? *Parental guidance is recommended if you are not an adult.
Supplies: • Cardboard box big enough to sit your dolls into • 2 sheets of 20x30 inch/51x76cm foam board • Craft glue or hot glue glue gun and glue sticks (White school glue will not work; it is too runny. We used tacky glue.) • Stick glue • Scissors • Self-healing mat • Xacto knife or craft knife • Straight edge or yard/meter stick • Ruler • Pencil • Scrapbook papers that look like water, stone, bricks, pavers, and tile (If your craft store does not have suitable papers or you can’t get to the store, try an online marketplace that sells digital scrapbook paper designs. You can get an instant download of any design you want for just a few dollars!) • Masking tape
Step 1: Remove the flaps from your cardboard box. Then measure and cut a piece of cardboard to fit in the gap at the bottom where the flaps do not meet. Glue this piece in place.
Step 2: Line your box with the water paper. Using your craft glue to apply it, trim and cut pieces of water paper to fit your box. For good coverage, apply paper in the corners first, then the sides, letting the paper run up and over the top edge of the box and down and onto the bottom just a bit. This is so none of the cardboard box will show when you are done.
Finish by measuring and cutting a piece of water paper to fit in the bottom of your box and glue it in place. It is starting to look like a pool already!
Step 3: Decide on the placement of your pool on the foam board. Set your box upside down on the foam board and trace around it. We chose to have our pool to one side with room for a deck on the other to set our lounge chair on.
Once your box rim is traced around, remove the box and go back and draw a line within the rectangle you just drew, about 1/8 inch/0.3 cm in. This will be our cut line for the pool opening, and it will give us a lip so the box can be glued to the underside of the “deck” foam board.
Step 4: Use your craft knife on your self-healing mat to cut out the inner, smaller rectangle of foam board. Then flip the foam board over and try it out with the “water” box underneath. Take the time now to adjust the shape if you need to, by trimming more with your craft knife. You want it as flush as you can get it without it being too big!
Step 5: Now we are going to add support for your pool deck all the way around. Measure how high your “deck” foam board piece is from the ground when sitting on your water box. Ours was almost 6 inches/15.3 cm so we made our sides 6 inches/15.3 cm tall by the width of the foam board. Cut four strips of foam board from the second large piece of foam board to be the four sides of your pool deck. Two of them would be 30 inches/76 cm long and two of them would be about 19.5 inches/50 cm long.
Using your craft glue and masking tape, first glue the four sides on to the underside of the pool deck, making an open box shape, and gluing them to each other at the corners, then secure with the masking tape. We will leave this tape in place because we will be covering it with stone paper later.
Step 6: Next you are going to apply your stone or paver paper over the whole top of the pool deck, using your stick glue. Try to line up your pattern as closely as you can so it will look more realistic! When you come to the opening for the pool, leave your paper to hang over the sides and make angled cuts at the corners..
Now turn your pool deck over and wrap and glue down the extra paper around the pool opening.
And then cover the sides of your pool deck with a different stonework-look paper.
Step 7: Now is the time to glue on the water box! Flip your pool deck upside down again and apply a line of glue around the edge of the opening. Make it as close to the edge as you can, then set your box in place. Use more masking tape to secure the box all the way around.
Step 8: The final step is to use your tile paper to cut strips of tiles and tacky glue them around the top inside of the water box. Take some time to match up the tiles as best you can for a nice, realistic look.
And with that final step, your fabulous doll pool is finished! Get your dolls dressed in their swim suits, grab a lounge chair for the pool deck, and go outside and enjoy the summer sun!!
Remember to share your creations with us and your friends by using hashtag #rrffdiy and tag us on Instagram @rubyredfashionfriends_global
* Tutorial prepared by @forofsuch on Instagram for Ruby Red Fashion Friends