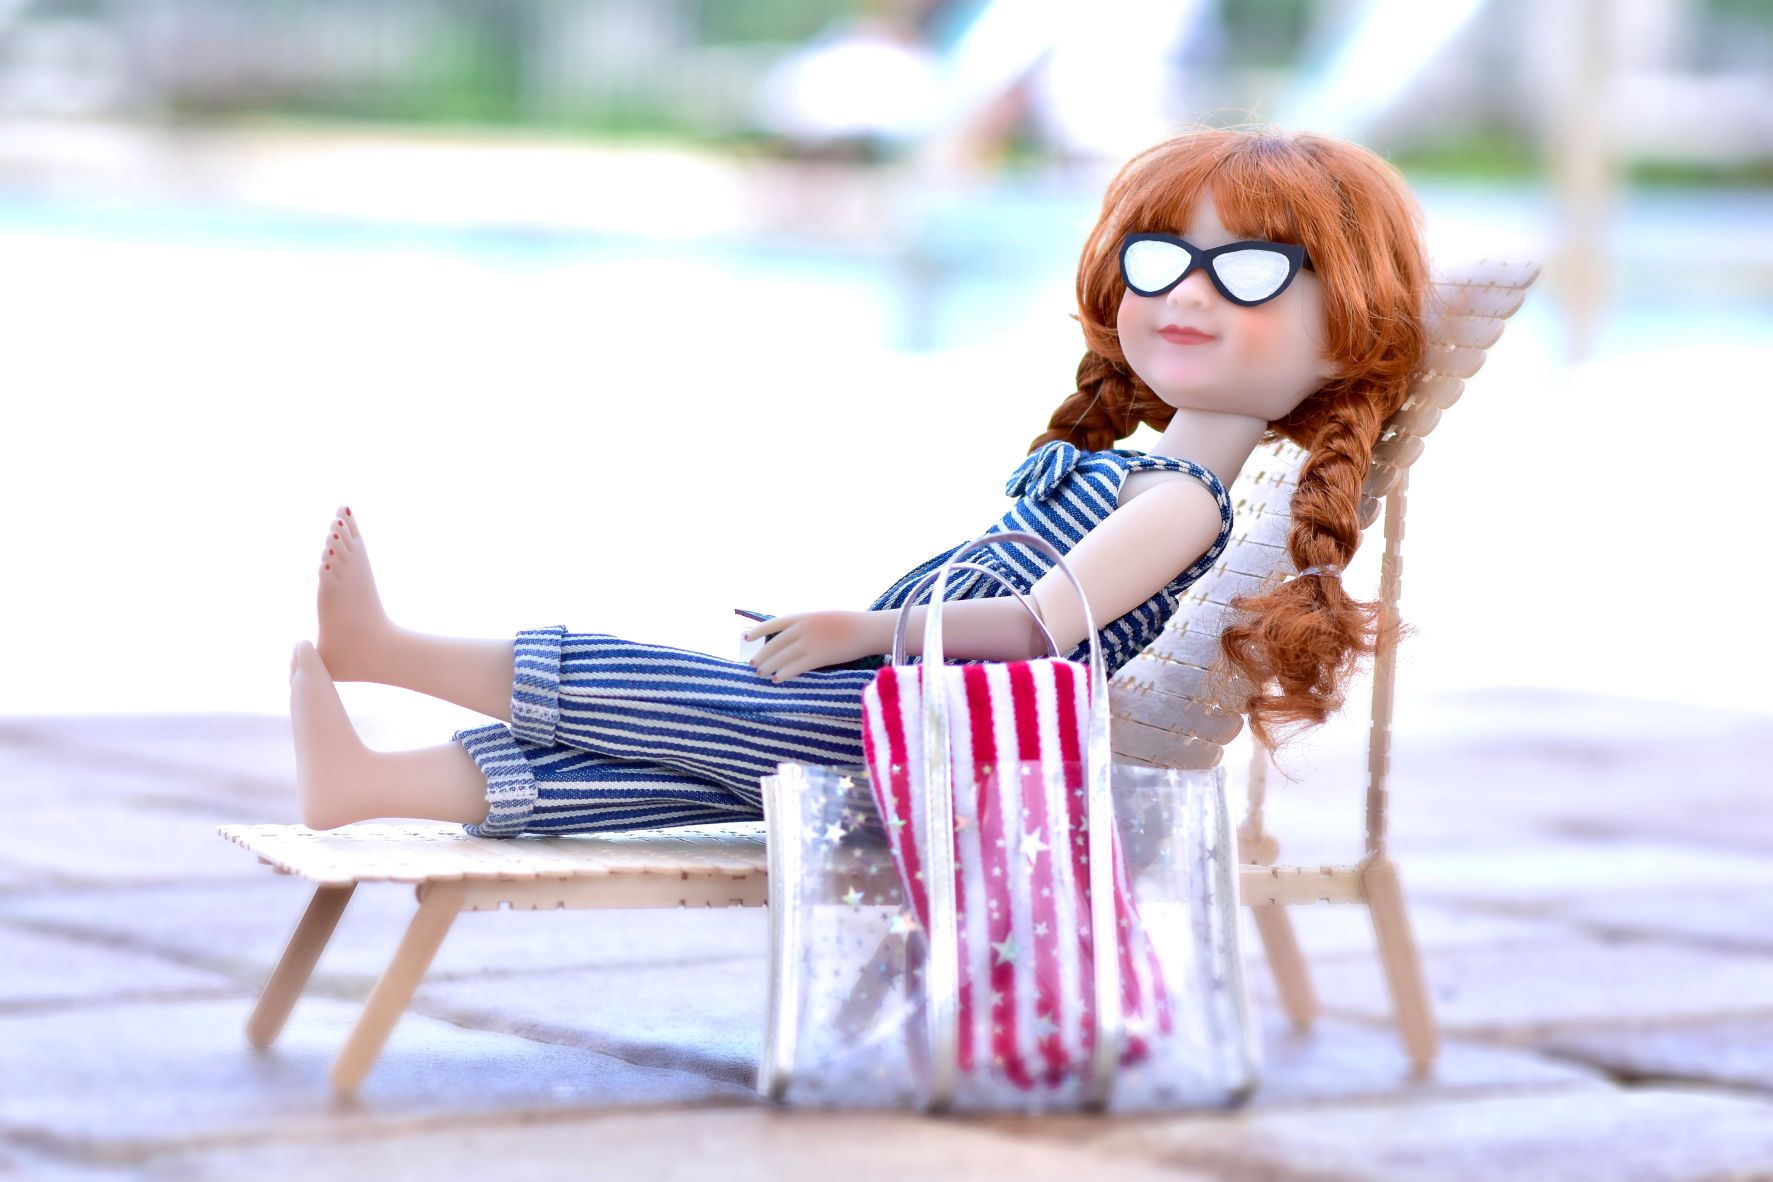
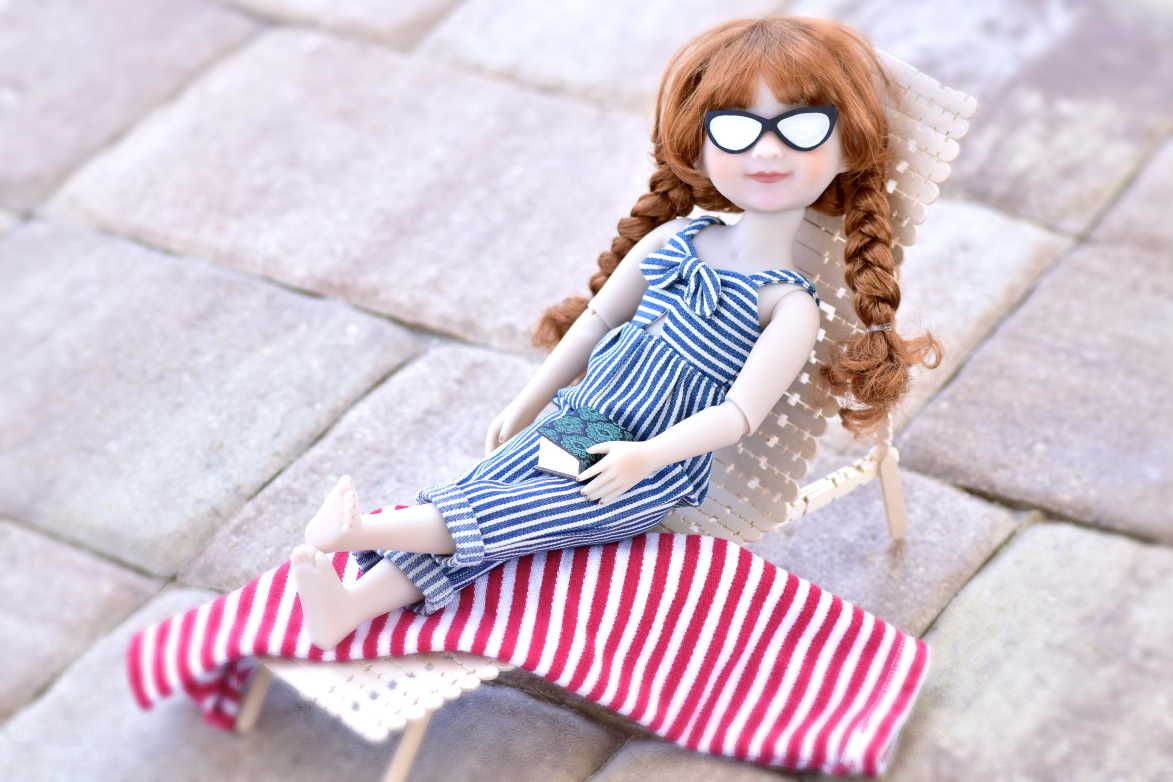
It’s officially summertime, and we hope you and your dolls get a chance to relax this year. Join us in this easy craft tutorial, and we will show you how to make an outdoor lounge chair for your Ruby Red Fashion Friends dolls! They can enjoy the summer heat lounging in their backyard, at the beach, or by the pool.
In our photos we are using notched popsicle sticks we found at Target, but you can use regular popsicle sticks if you cannot find the notched kind. *Parental guidance is recommended if you are not an adult.
Supplies:
• Craft popsicle sticks
(measuring 4.5 inches/11.4 cm)
• Mini popsicle sticks
(measuring 2.5 inches/6.5 cm)
• Hot glue gun and glue
• Scissors
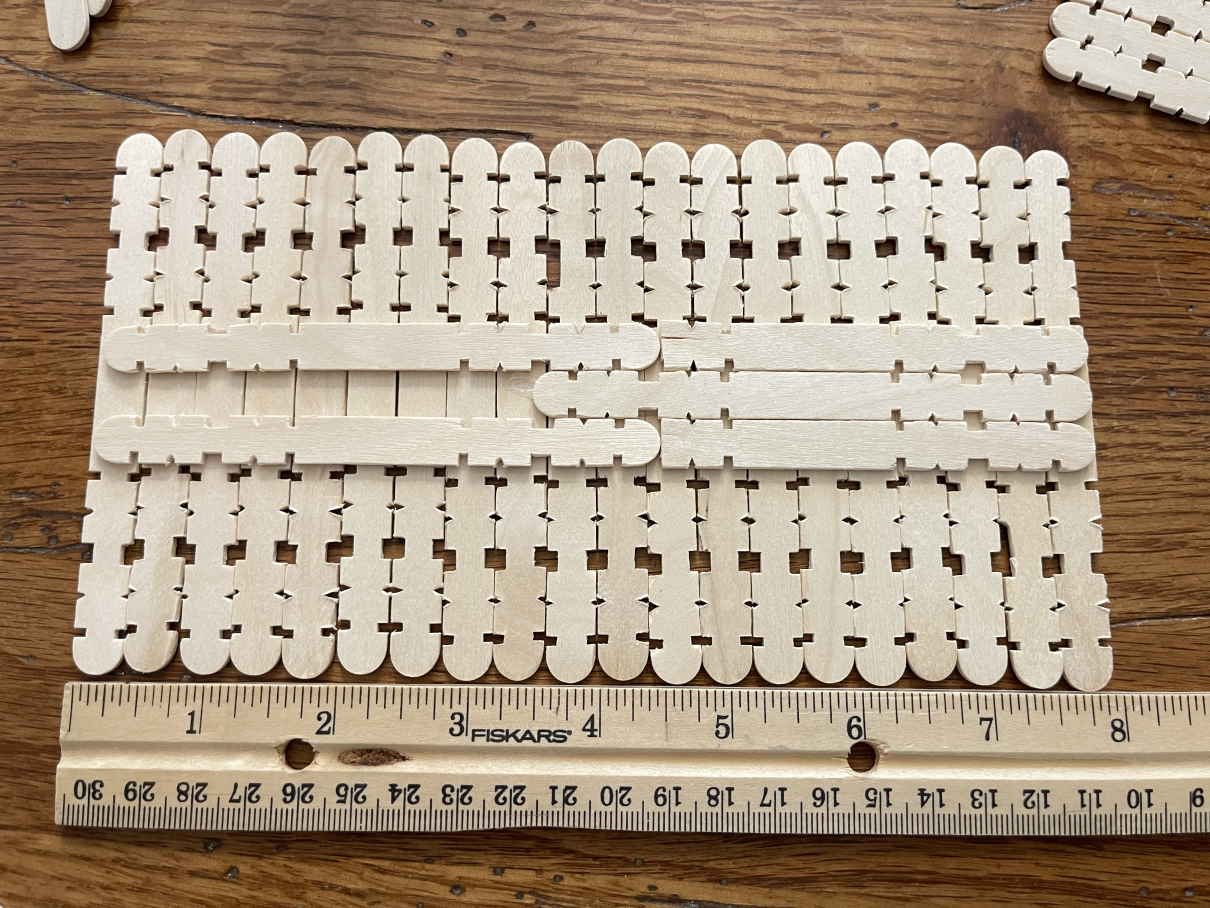
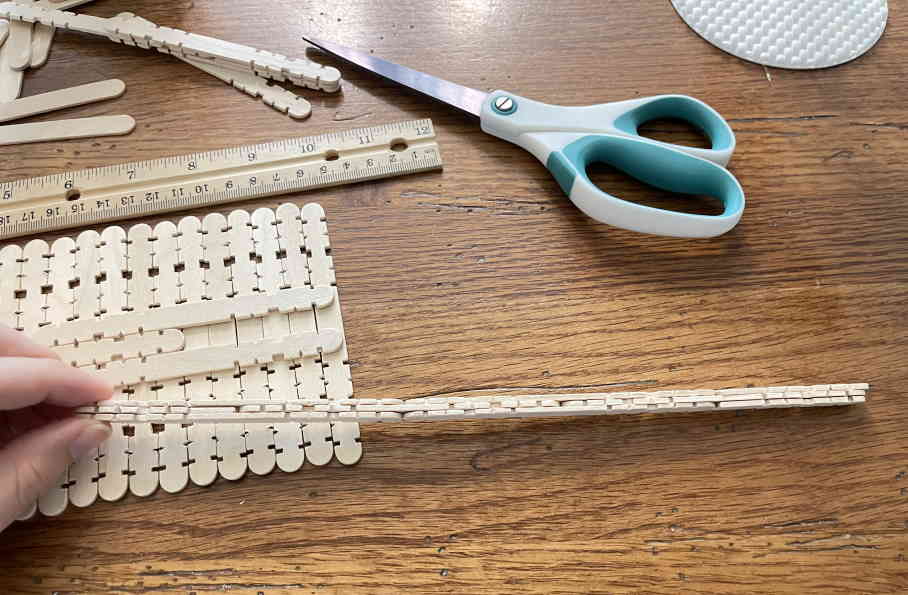
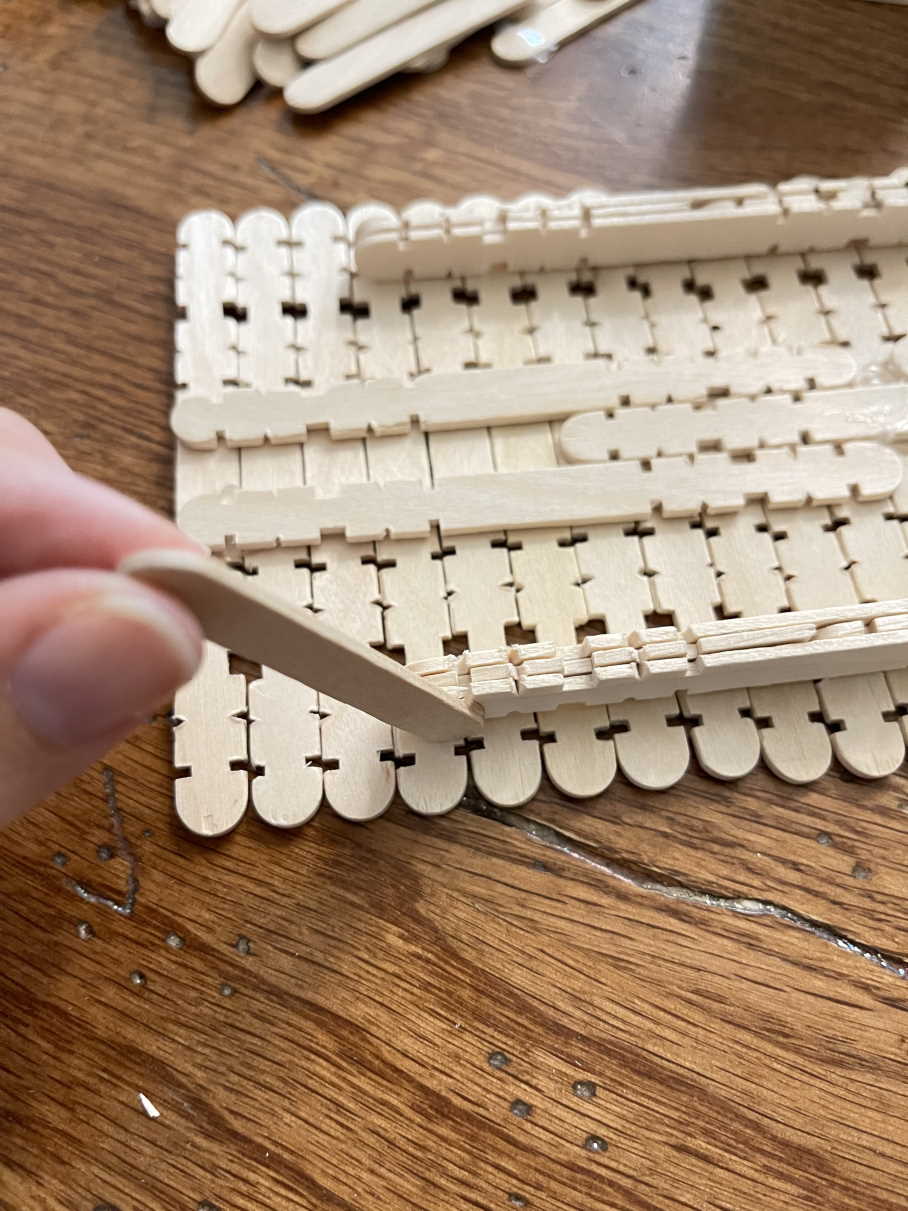
Step 1: Take a handful of popsicle sticks and line them up until they are 9 inches/23.5 cm long. Take 5 popsicle sticks and glue them down the middle of this group of sticks, thereby joining them together and making a panel of sticks.
Step 2: Repeat this process, this time making a panel that is 8 inches/ 20.5 cm long. You may have to trim some popsicle sticks to make the sticks fit that you glue on the bottom of the panel.
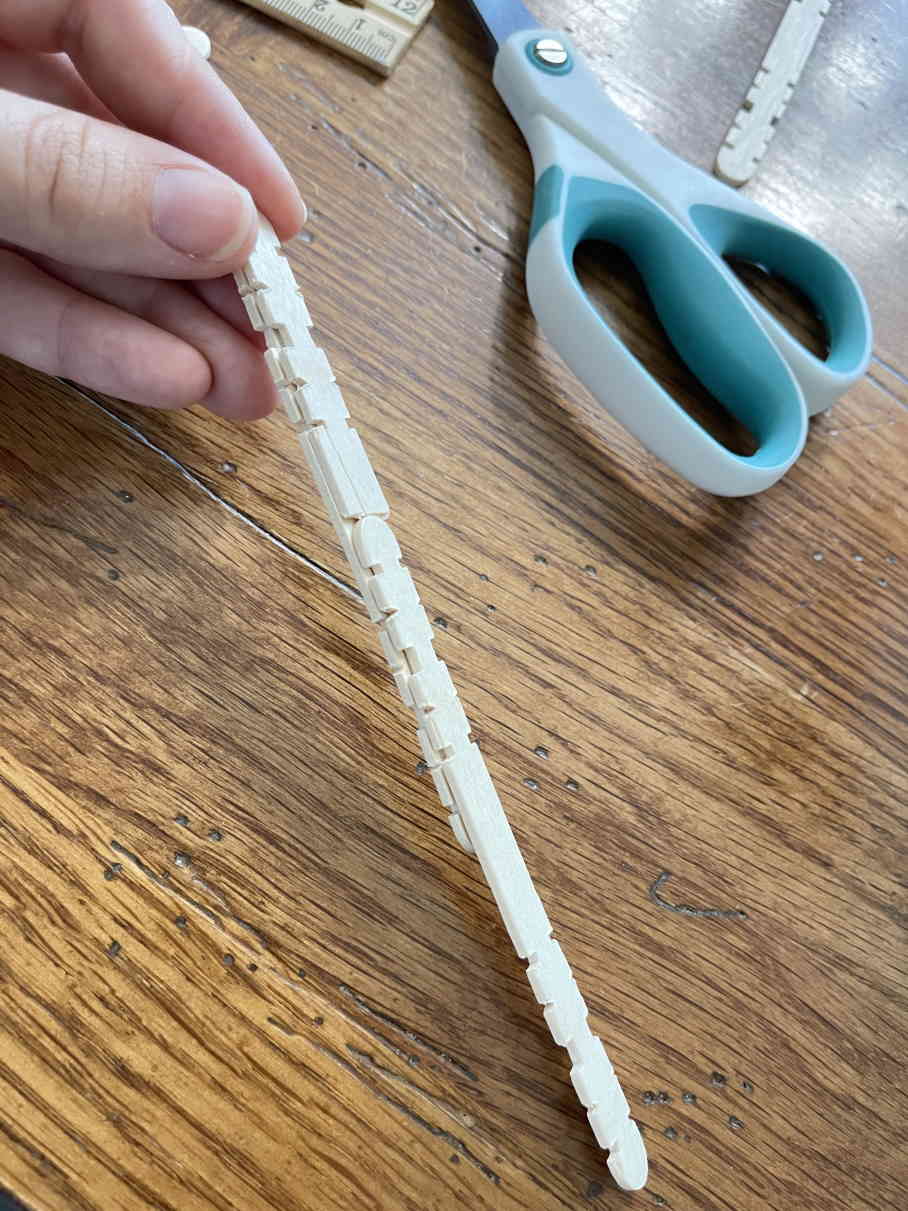
Step 3: Next we are going to make two long support pieces that will run under the length of the seat part of the lounge chair.
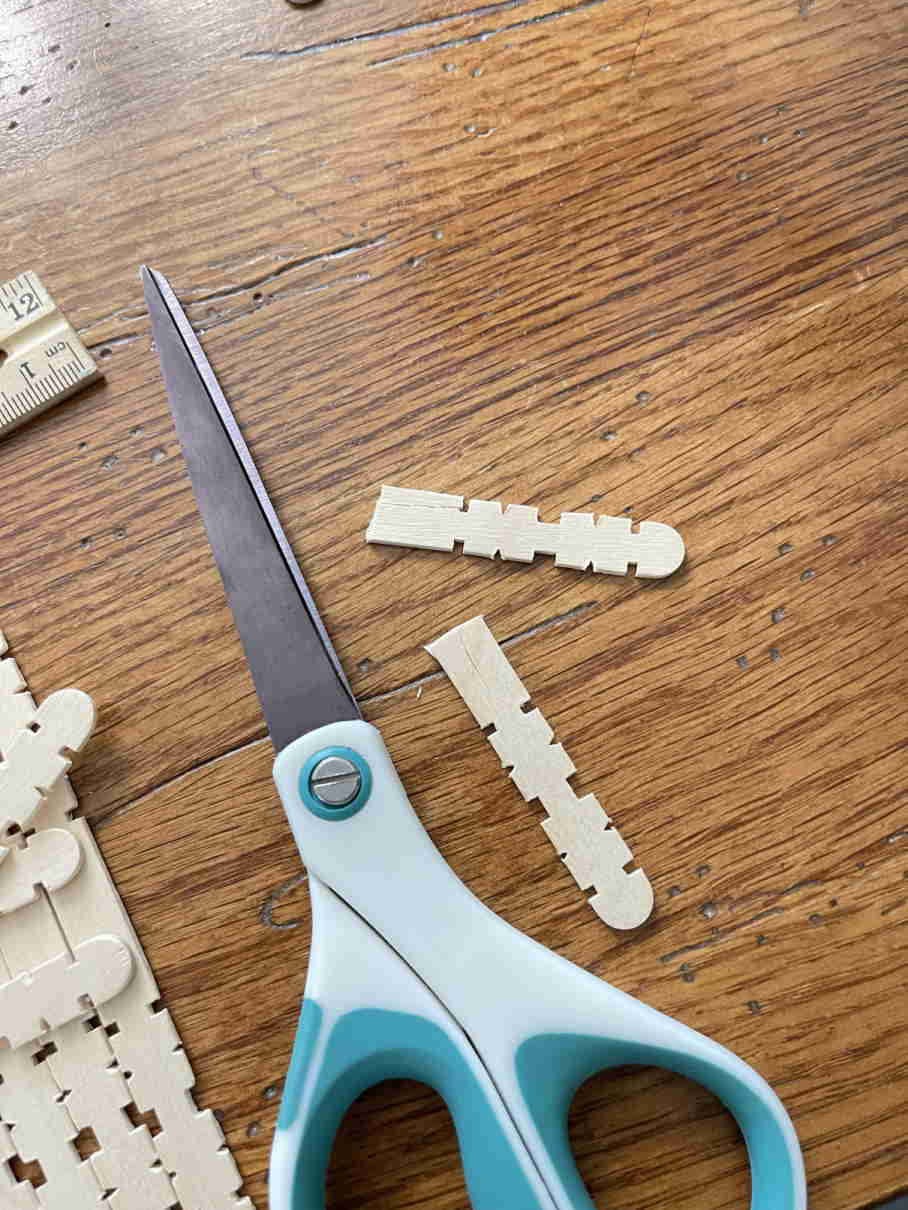
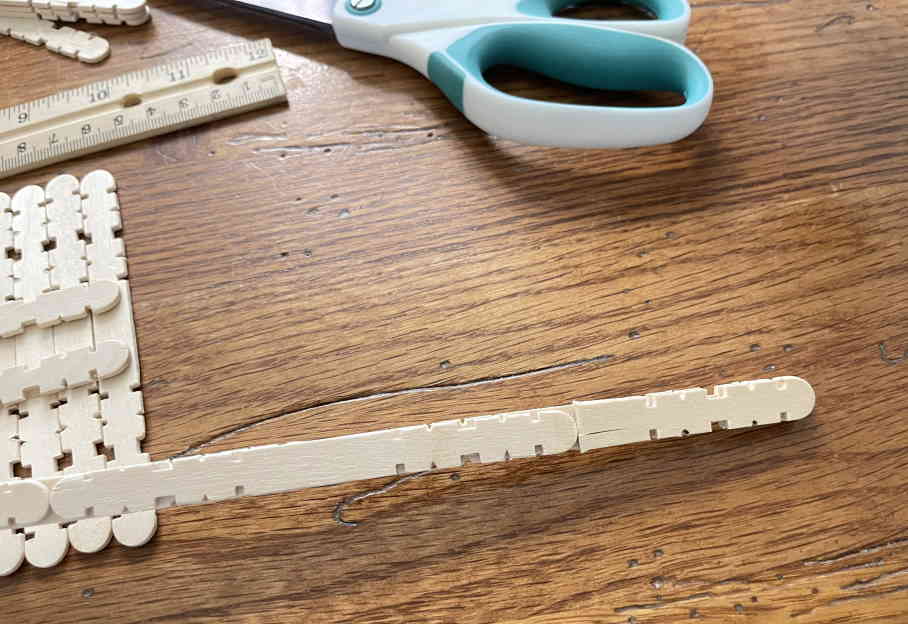
3.1: Begin by cutting a few popsicle sticks in half.
3.2: Glue one of the halves flat against the end of a whole popsicle stick.
3.3: Now glue a whole stick on top of the other end of the first whole popsicle stick. Half of this new whole stick will extend from the base stick.
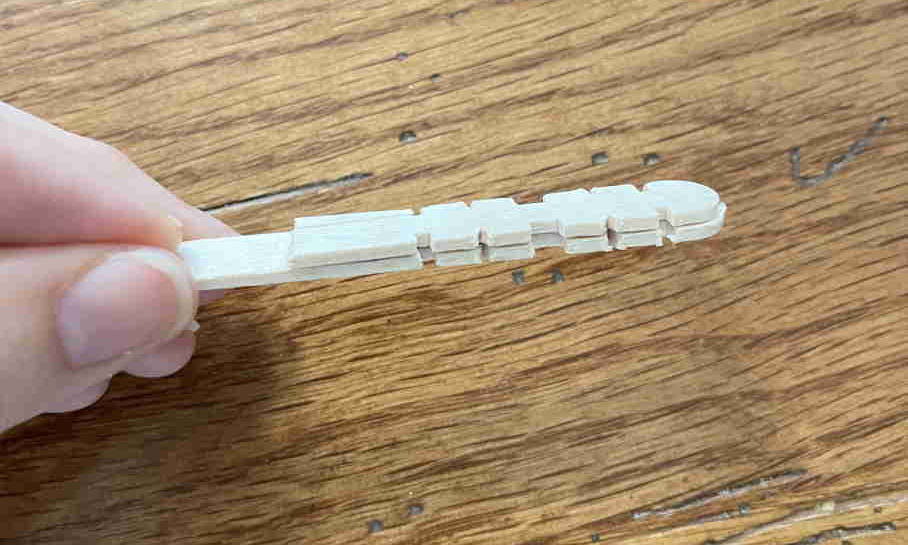
3.4: Now take a third whole stick and glue it on top of the half stick and the whole stick, lining it up with the original whole base stick. This is difficult to describe, but hopefully from the photos you can see that we are making a three stick-thick piece, with the middle layer consisting off offset sticks.
3.5: Continue in this manner until your piece is about 12 inches/30 cm long. Remember that at the end you will need to use more cut half stick pieces to finish the top and bottom.
3.6: Repeat this process to make a second long support piece.
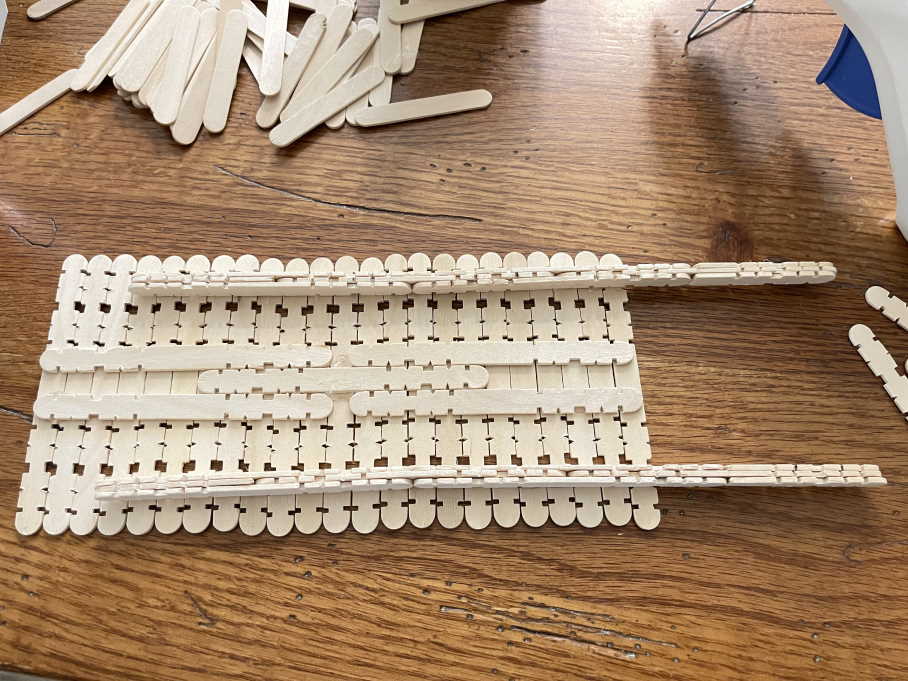
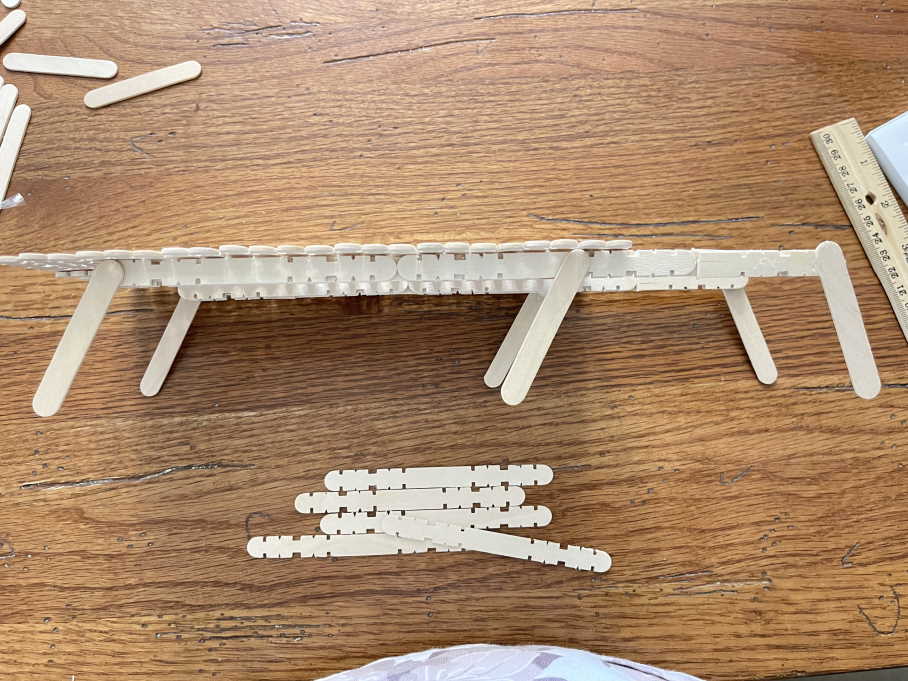
Step 4: Glue the two long support pieces to the bottom of the 9 inch/23.5 cm panel, making sure they both stick out about 3.25 inches/8.5 cm from one end of the panel.
Step 5: Now we are going to use the mini popsicle sticks to add legs to the lounge chair.
5.1: Starting at one end of the underneath support pieces, glue a mini popsicle at an angle to the end of the support piece. You will need to hold it in place while the glue sets.
5.2: Repeat this process 5 more times, adding two legs to the front, two to the back, and two in the middle near the end of the 9 inch/23.5 cm panel. These middle legs will support the weight of the doll as she sits in the chair. Try your best to get all these legs at similar angles so that they will all contact the floor when the chair is set upright.
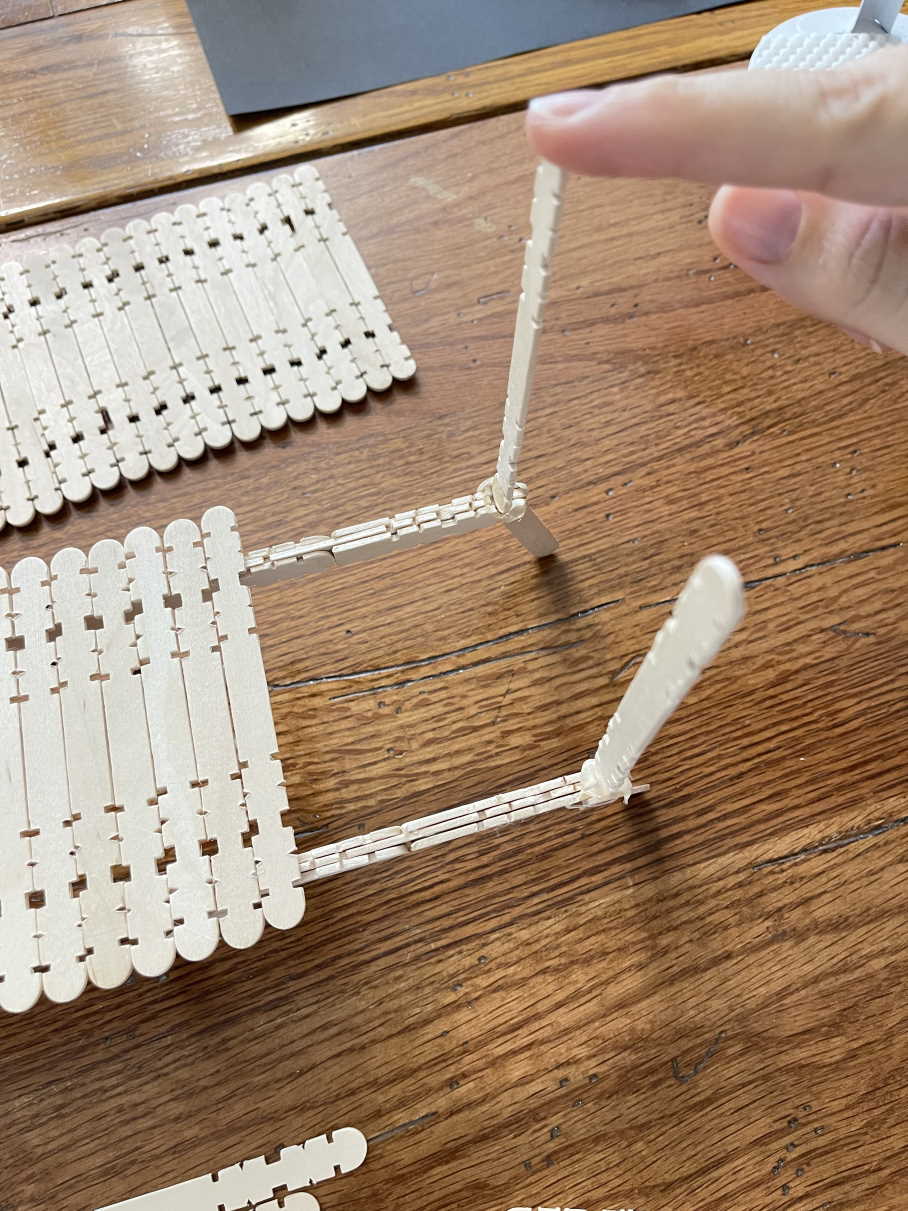
Step 6: Now we are going to add the pieces that will support the back of the lounge chair. Take two whole popsicle sticks and glue them in an upright position at the end of each long support piece. You will need to hold them in place again as the glue sets.
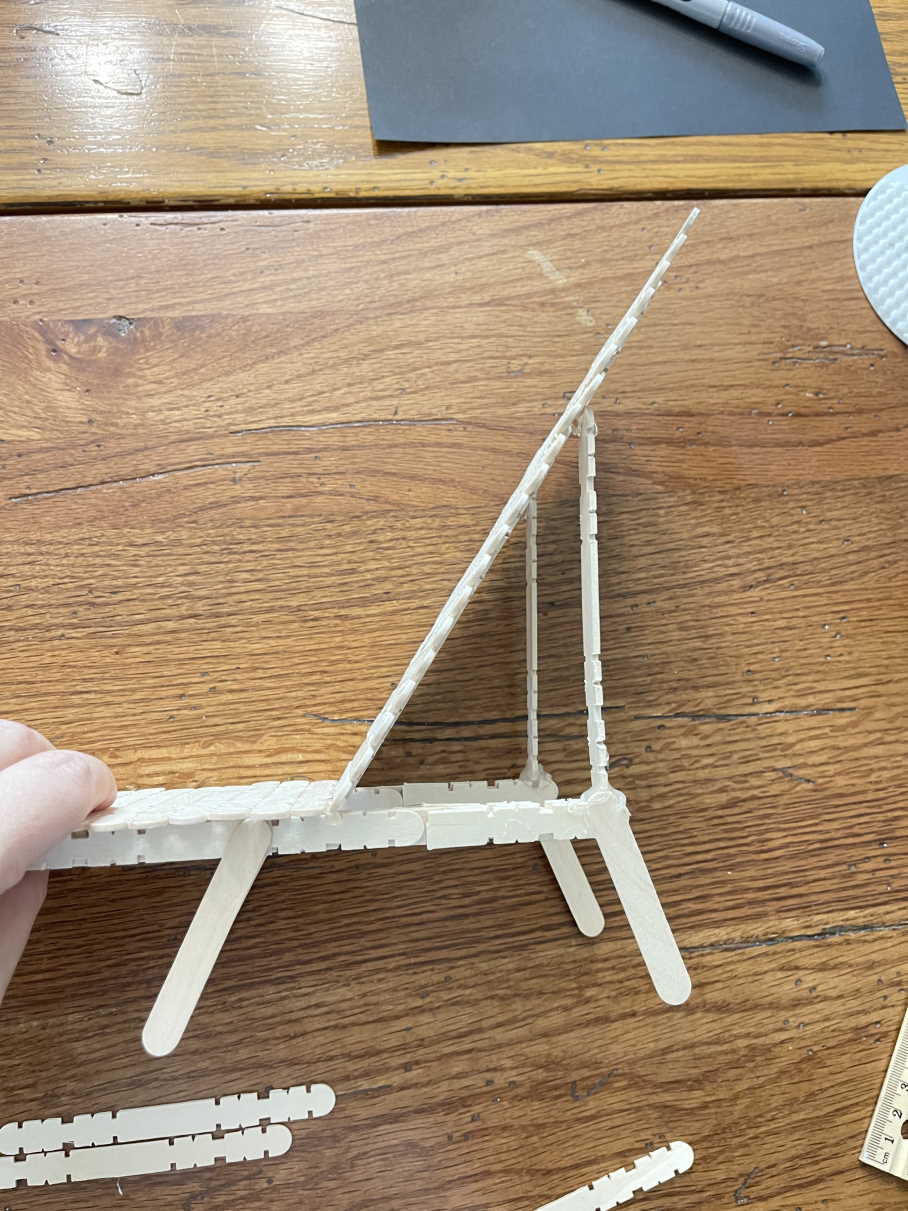
Step 7: Once those sticks are set, you are ready to add the final piece! Glue the 8 inch/20.5 cm panel in place, creating the back of the chair. Meet one end to the end of the 9 inch/23.5 cm panel and have the other end rest on the two upright support pieces. Once your glue is set, go back and reinforce each joint with additional glue.
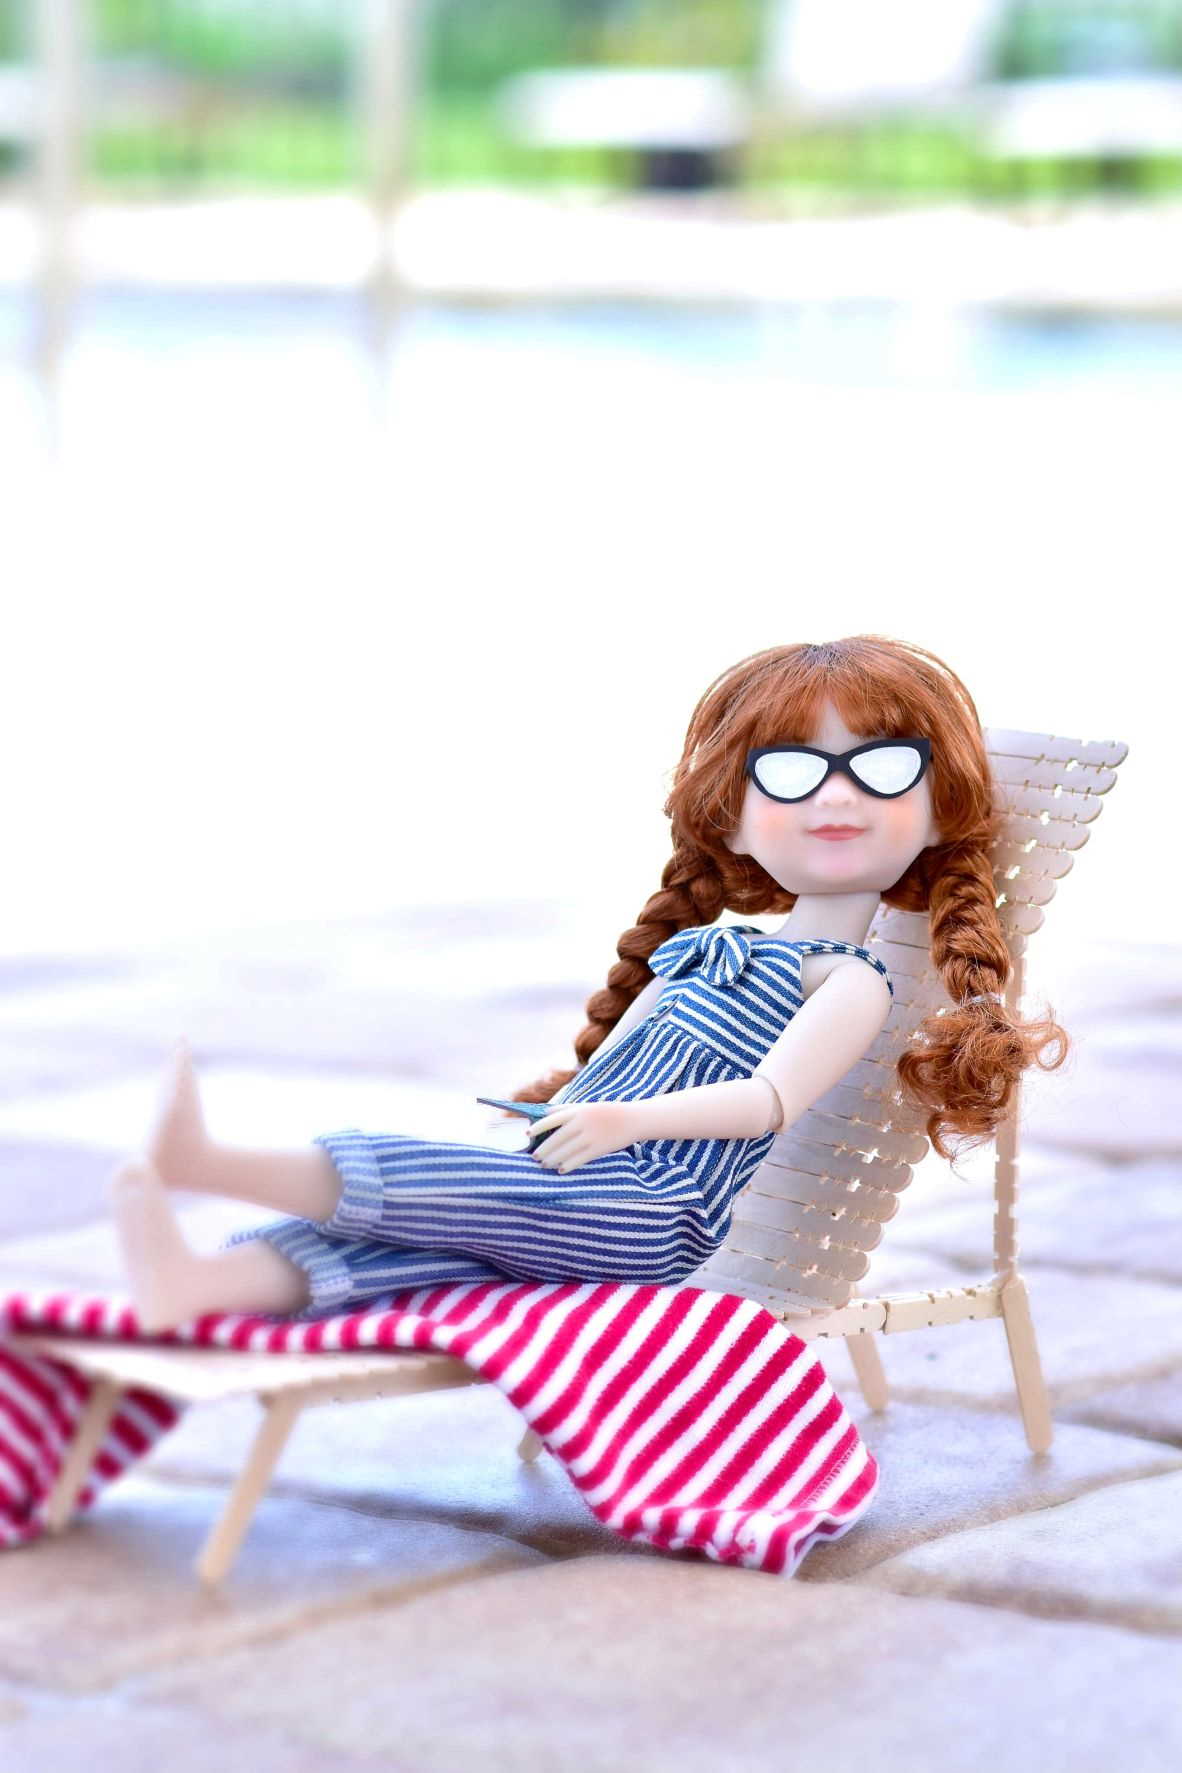
Your lounge chair is done!!!
Now your doll is set to relax and enjoy her summer! Don't forget to share your creations and nice photo shots with us and your friends by using hashtag #rrffdiy and tag us on Instagram @rubyredfashionfriends_global
Check our next tutorial as we show you how to make her sunglasses and towel!
* Tutorial prepared by @forofsuch on Instagram for Ruby Red Fashion Friends
Summer Lounge Chair Tutorial
It’s officially summertime, and we hope you and your dolls get a chance to relax this year. Join us in this easy craft tutorial, and we will show you how to make an outdoor lounge chair for your Ruby Red Fashion Friends dolls! They can enjoy the summer heat lounging in their backyard, at the beach, or by the pool. *Parental guidance is recommended if you are not an adult.
• Mini popsicle sticks (measuring 2.5 inches/6.5 cm)
• Hot glue gun and glue
• Scissors
In our photos we are using notched popsicle sticks we found at Target, but you can use regular popsicle sticks if you cannot find the notched kind.
Step 1: Take a handful of popsicle sticks and line them up until they are 9 inches/23.5 cm long. Take 5 popsicle sticks and glue them down the middle of this group of sticks, thereby joining them together and making a panel of sticks.
Step 2: Repeat this process, this time making a panel that is 8 inches/ 20.5 cm long. You may have to trim some popsicle sticks to make the sticks fit that you glue on the bottom of the panel.
Step 3: Next we are going to make two long support pieces that will run under the length of the seat part of the lounge chair.
3.1: Begin by cutting a few popsicle sticks in half.
3.2: Glue one of the halves flat against the end of a whole popsicle stick.
3.3: Now glue a whole stick on top of the other end of the first whole popsicle stick. Half of this new whole stick will extend from the base stick.
3.4: Now take a third whole stick and glue it on top of the half stick and the whole stick, lining it up with the original whole base stick. This is difficult to describe, but hopefully from the photos you can see that we are making a three stick-thick piece, with the middle layer consisting off offset sticks.
3.5: Continue in this manner until your piece is about 12 inches/30 cm long. Remember that at the end you will need to use more cut half stick pieces to finish the top and bottom.
3.6: Repeat this process to make a second long support piece.
Step 4: Glue the two long support pieces to the bottom of the 9 inch/23.5 cm panel, making sure they both stick out about 3.25 inches/8.5 cm from one end of the panel.
Step 5: Now we are going to use the mini popsicle sticks to add legs to the lounge chair.
5.1: Starting at one end of the underneath support pieces, glue a mini popsicle at an angle to the end of the support piece. You will need to hold it in place while the glue sets.
5.2: Repeat this process 5 more times, adding two legs to the front, two to the back, and two in the middle near the end of the 9 inch/23.5 cm panel. These middle legs will support the weight of the doll as she sits in the chair. Try your best to get all these legs at similar angles so that they will all contact the floor when the chair is set upright.
Step 6: Now we are going to add the pieces that will support the back of the lounge chair. Take two whole popsicle sticks and glue them in an upright position at the end of each long support piece. You will need to hold them in place again as the glue sets.
Step 7: Once those sticks are set, you are ready to add the final piece! Glue the 8 inch/20.5 cm panel in place, creating the back of the chair. Meet one end to the end of the 9 inch/23.5 cm panel and have the other end rest on the two upright support pieces. Once your glue is set, go back and reinforce each joint with additional glue.
Your lounge chair is done!!!
Now your doll is set to relax and enjoy her summer! Don't forget to share your creations and nice photo shots with us and your friends by using hashtag #rrffdiy and tag us on: